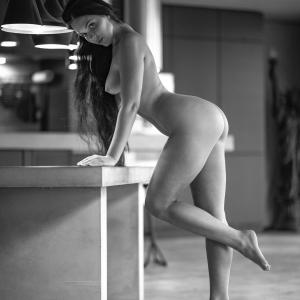
Every body tells a different story, and as boudoir photographers, our job is to help each client feel confident, beautiful, and authentically seen. But here's the truth: how to pose curvy women in boudoir isn't about hiding or minimizing — it's about celebrating natural curves with strategic angles, intentional hand placement, and camera positioning that creates flattering dimension.
Generic posing guides fail because they treat all bodies the same. A pose that works beautifully for a petite, straight-figured client might feel awkward or unflattering for someone with an hourglass or pear-shaped body. This guide gives you body-type-specific techniques that work immediately with curvy and plus-size clients, creating images they'll love.
✨ Key Takeaways
- Body-type-specific posing — pear, apple, hourglass, and athletic shapes each need different approaches
- Angles matter more than weight — camera height and distance create flattering proportions
- Hand placement is strategic — small adjustments create major shape definition
- Fabric draping is powerful — sheets, sheer robes, and strategic lingerie enhance curves
- Confidence beats perfection — authentic emotion makes every pose stunning
Why Generic Posing Guides Fail Curvy Clients (And What to Do Instead)
Most posing tutorials show the same poses on the same body types — usually slender models in studio settings. When you try to replicate those poses with curvy clients, they don't translate. The result? Your client feels uncomfortable, you feel stuck, and the images lack the natural confidence that makes boudoir photography powerful.
The difference comes down to understanding how curves, weight distribution, and body proportions interact with angles, light, and fabric. A pear-shaped client carries weight in her hips and thighs, so hip angles and leg positioning become critical. An apple-shaped client has a fuller midsection, so arching, twisting, and creating asymmetry helps define her waist.
💡 Pro Tip
Start every session by asking your client how she feels about her body. Which areas does she want to emphasize? Which areas make her feel self-conscious? This conversation guides every pose you choose and builds trust immediately.
The key principle: create dimension through angles, not by eliminating curves. Curves are beautiful. Our job is to photograph them with intention, using light, shadow, and body positioning to create depth, movement, and visual interest.
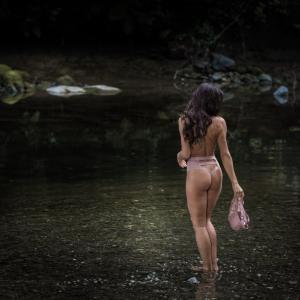
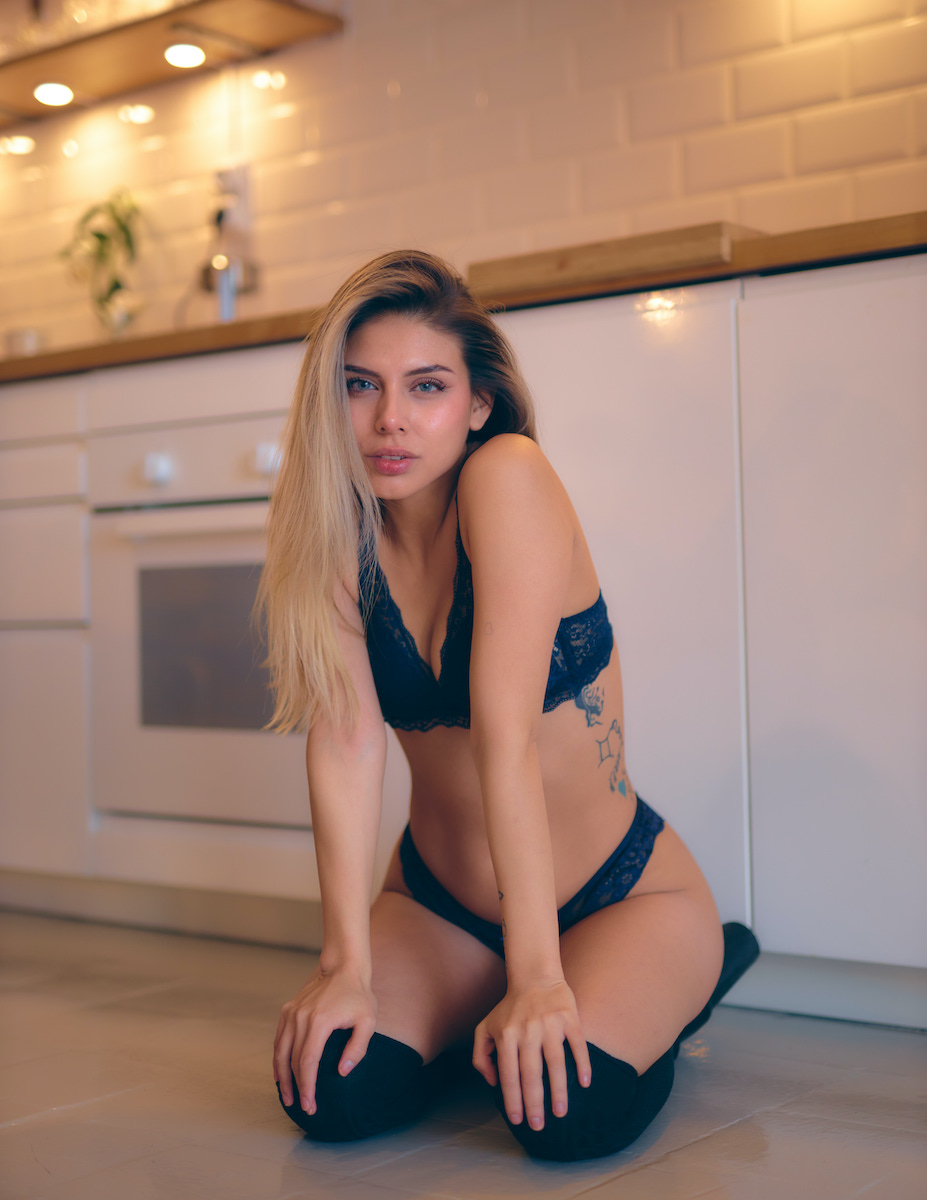
The Pear Shape Playbook: Hip Angles, Leg Positioning & Strategic Fabric Draping
Pear-shaped bodies carry more weight in the hips, thighs, and bottom, with a smaller bust and narrower shoulders. The goal isn't to hide the hips — it's to create visual balance and elongate the lower body through strategic positioning.
📋 Pear Shape Posing Checklist
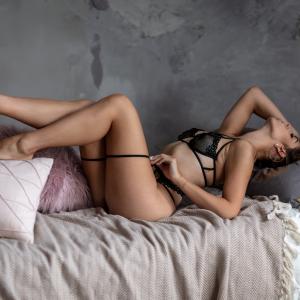
Best poses for pear shapes: Side-lying with top leg bent, seated poses with legs crossed or tucked, standing poses with hips angled away. Avoid: straight-on seated poses where hips spread against surfaces.
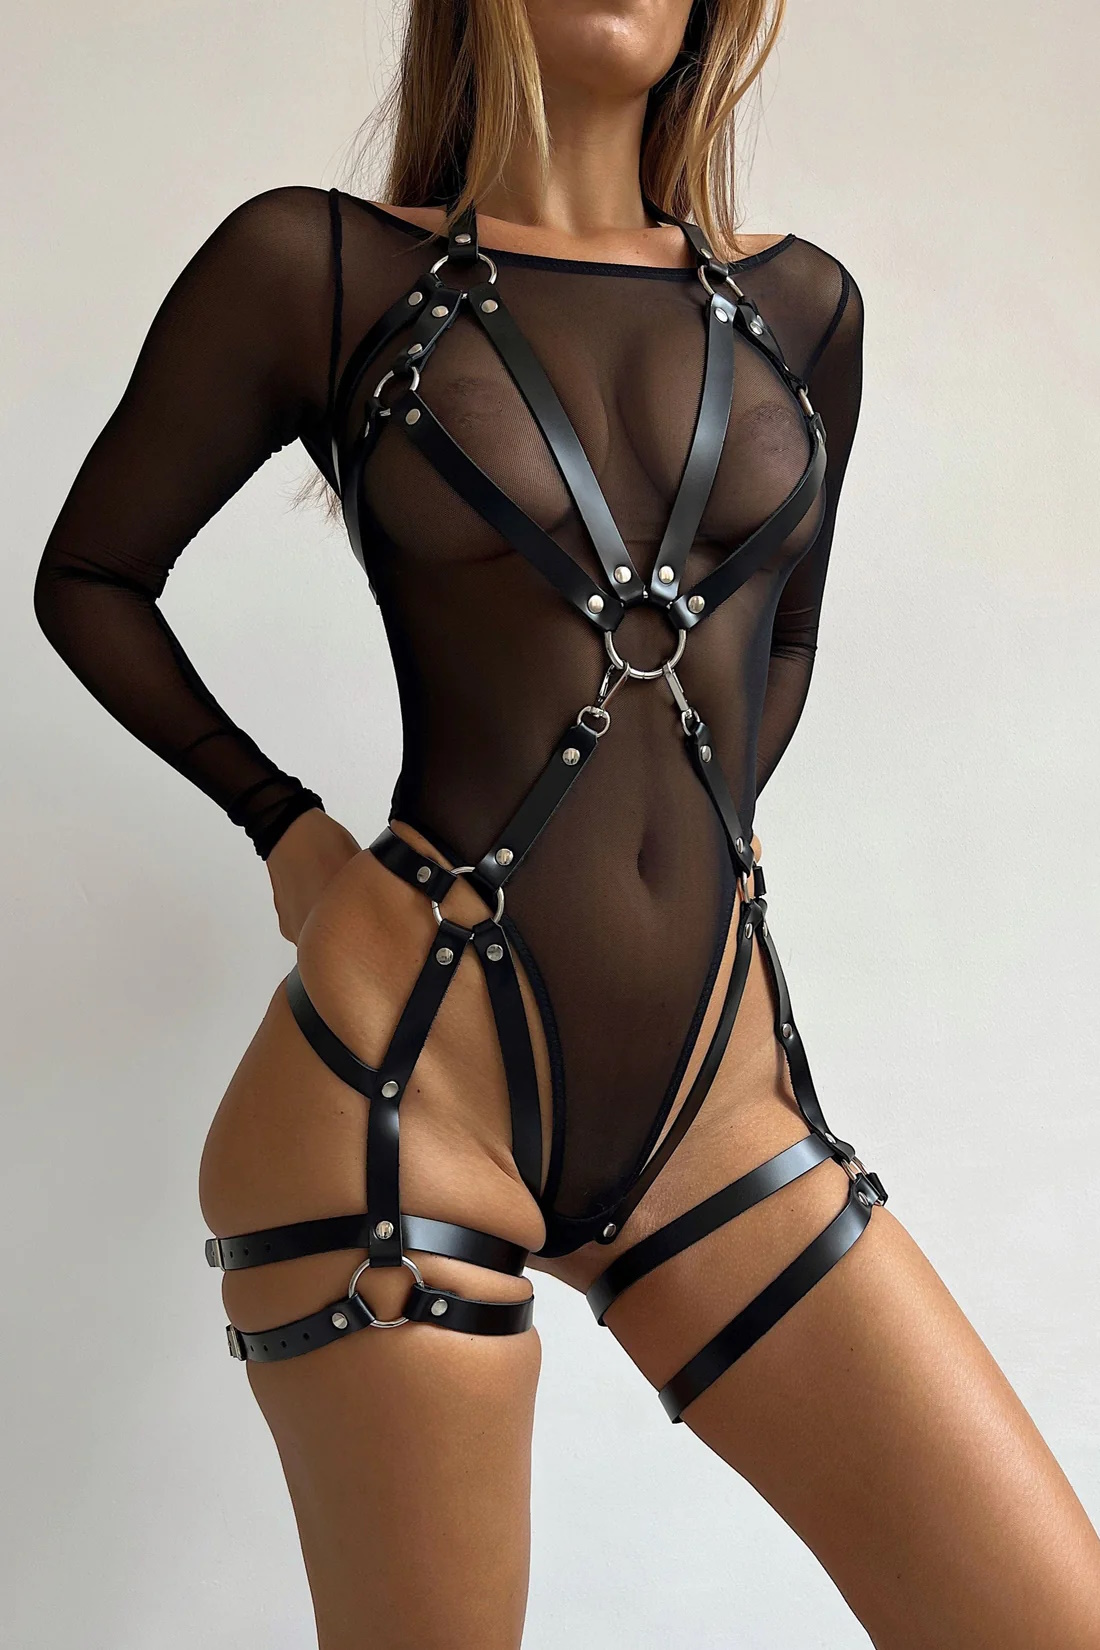
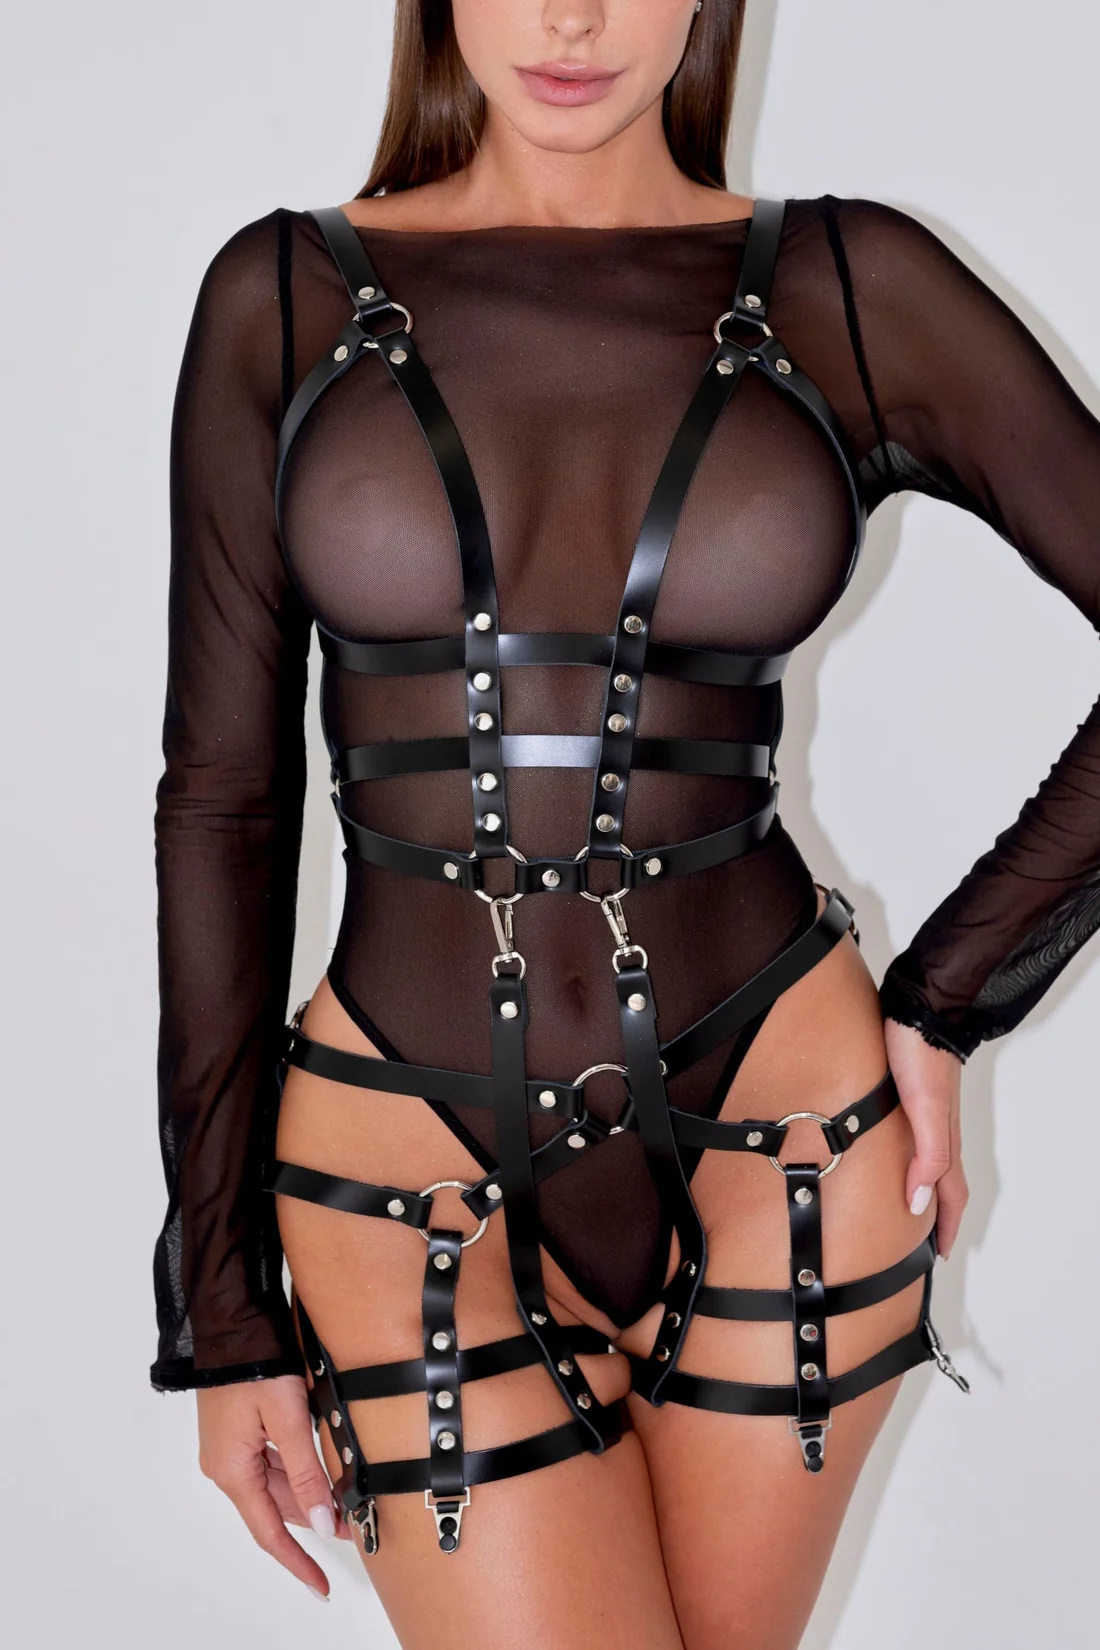
Fabric becomes your best friend here. A sheer robe draped across the hips creates soft, romantic coverage without hiding curves. Strategic lingerie choices like high-waisted bottoms visually elongate the legs and define the waist.
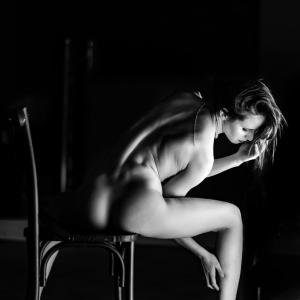
Apple & Athletic Body Types: Creating Curves with Arching, Twisting & Asymmetry
Apple-shaped bodies carry weight in the midsection with less defined waists, while athletic builds have straighter lines with minimal curves. Both benefit from poses that create shape through movement, arching, and asymmetry.
✅ Do
- Arch the back to create waist definition
- Twist torso to create S-curve lines
- Use hands on hips to cinch waist visually
- Shoot from lower angles to elongate torso
❌ Don't
- Pose straight-on without angles
- Use symmetrical, static positions
- Shoot from above (flattens torso)
- Skip arm positioning (arms add shape)
For apple shapes, twisting is transformative. When your client turns her torso slightly away from the camera while keeping her face toward you, it creates the illusion of a narrower waist. Combine this with one arm raised (holding hair, touching neck, or resting on a wall) and you've created an elegant S-curve that defines her shape.
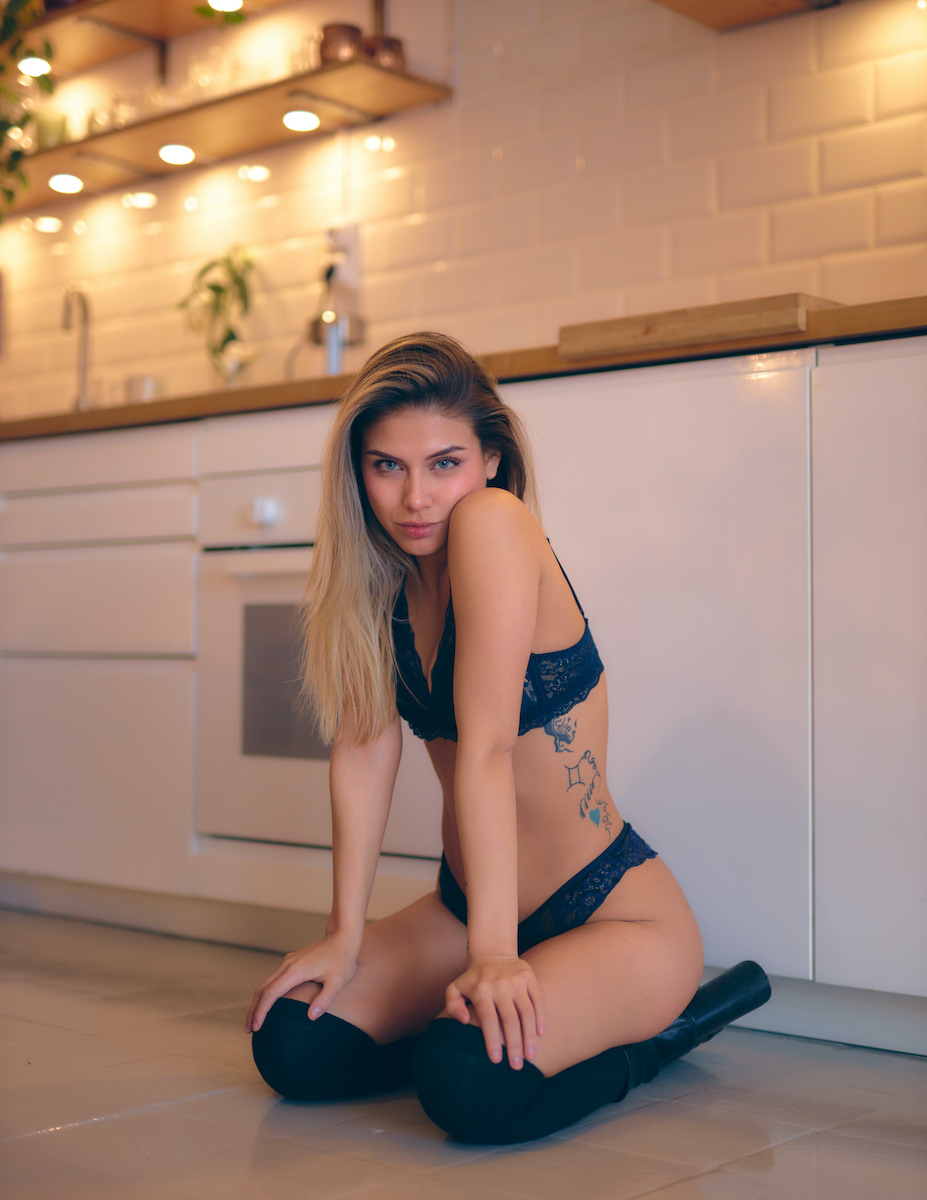
Athletic builds benefit from the same techniques but with added emphasis on creating softness. Side-lying poses, arched backs, and one leg bent create feminine curves. Consider poses from inclusive boudoir photography that celebrate strength while adding dimension.
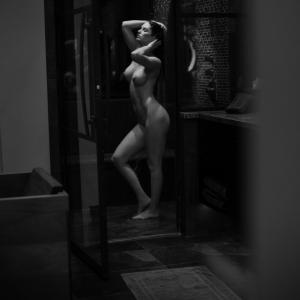
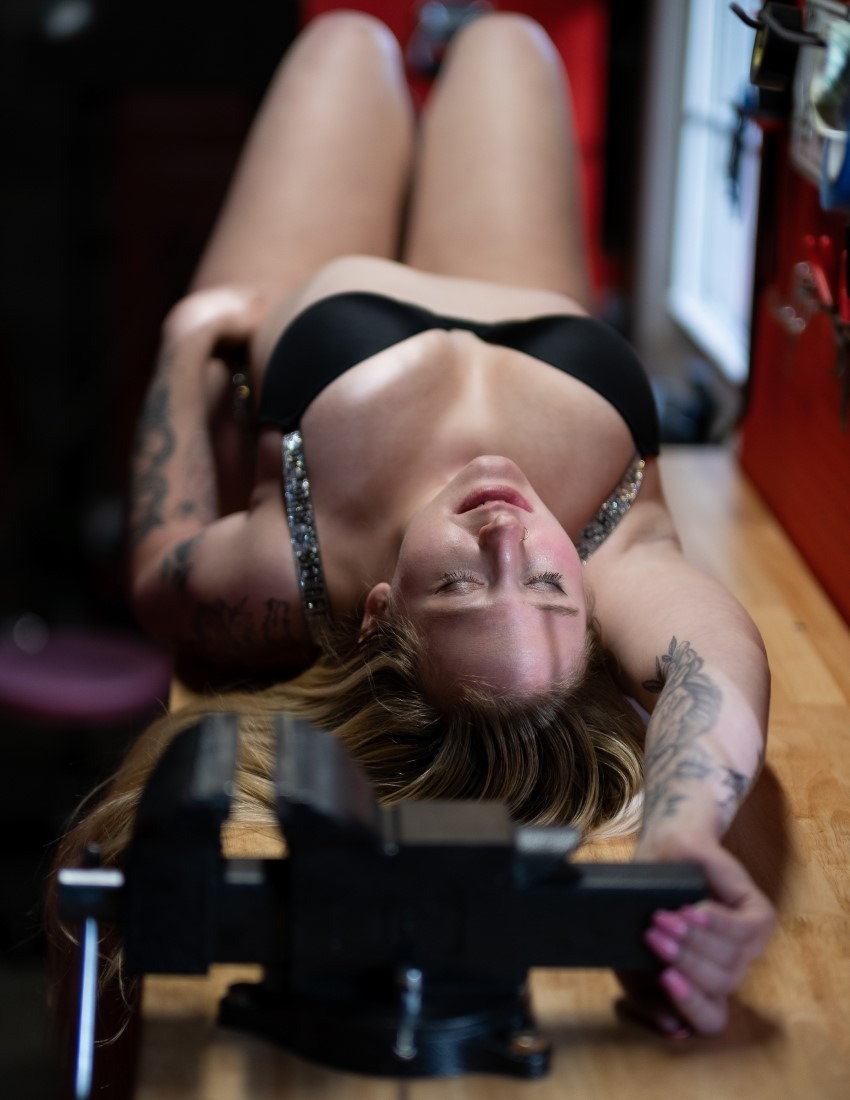
Hourglass Figures: Emphasizing Natural Curves Without Overwhelming the Frame
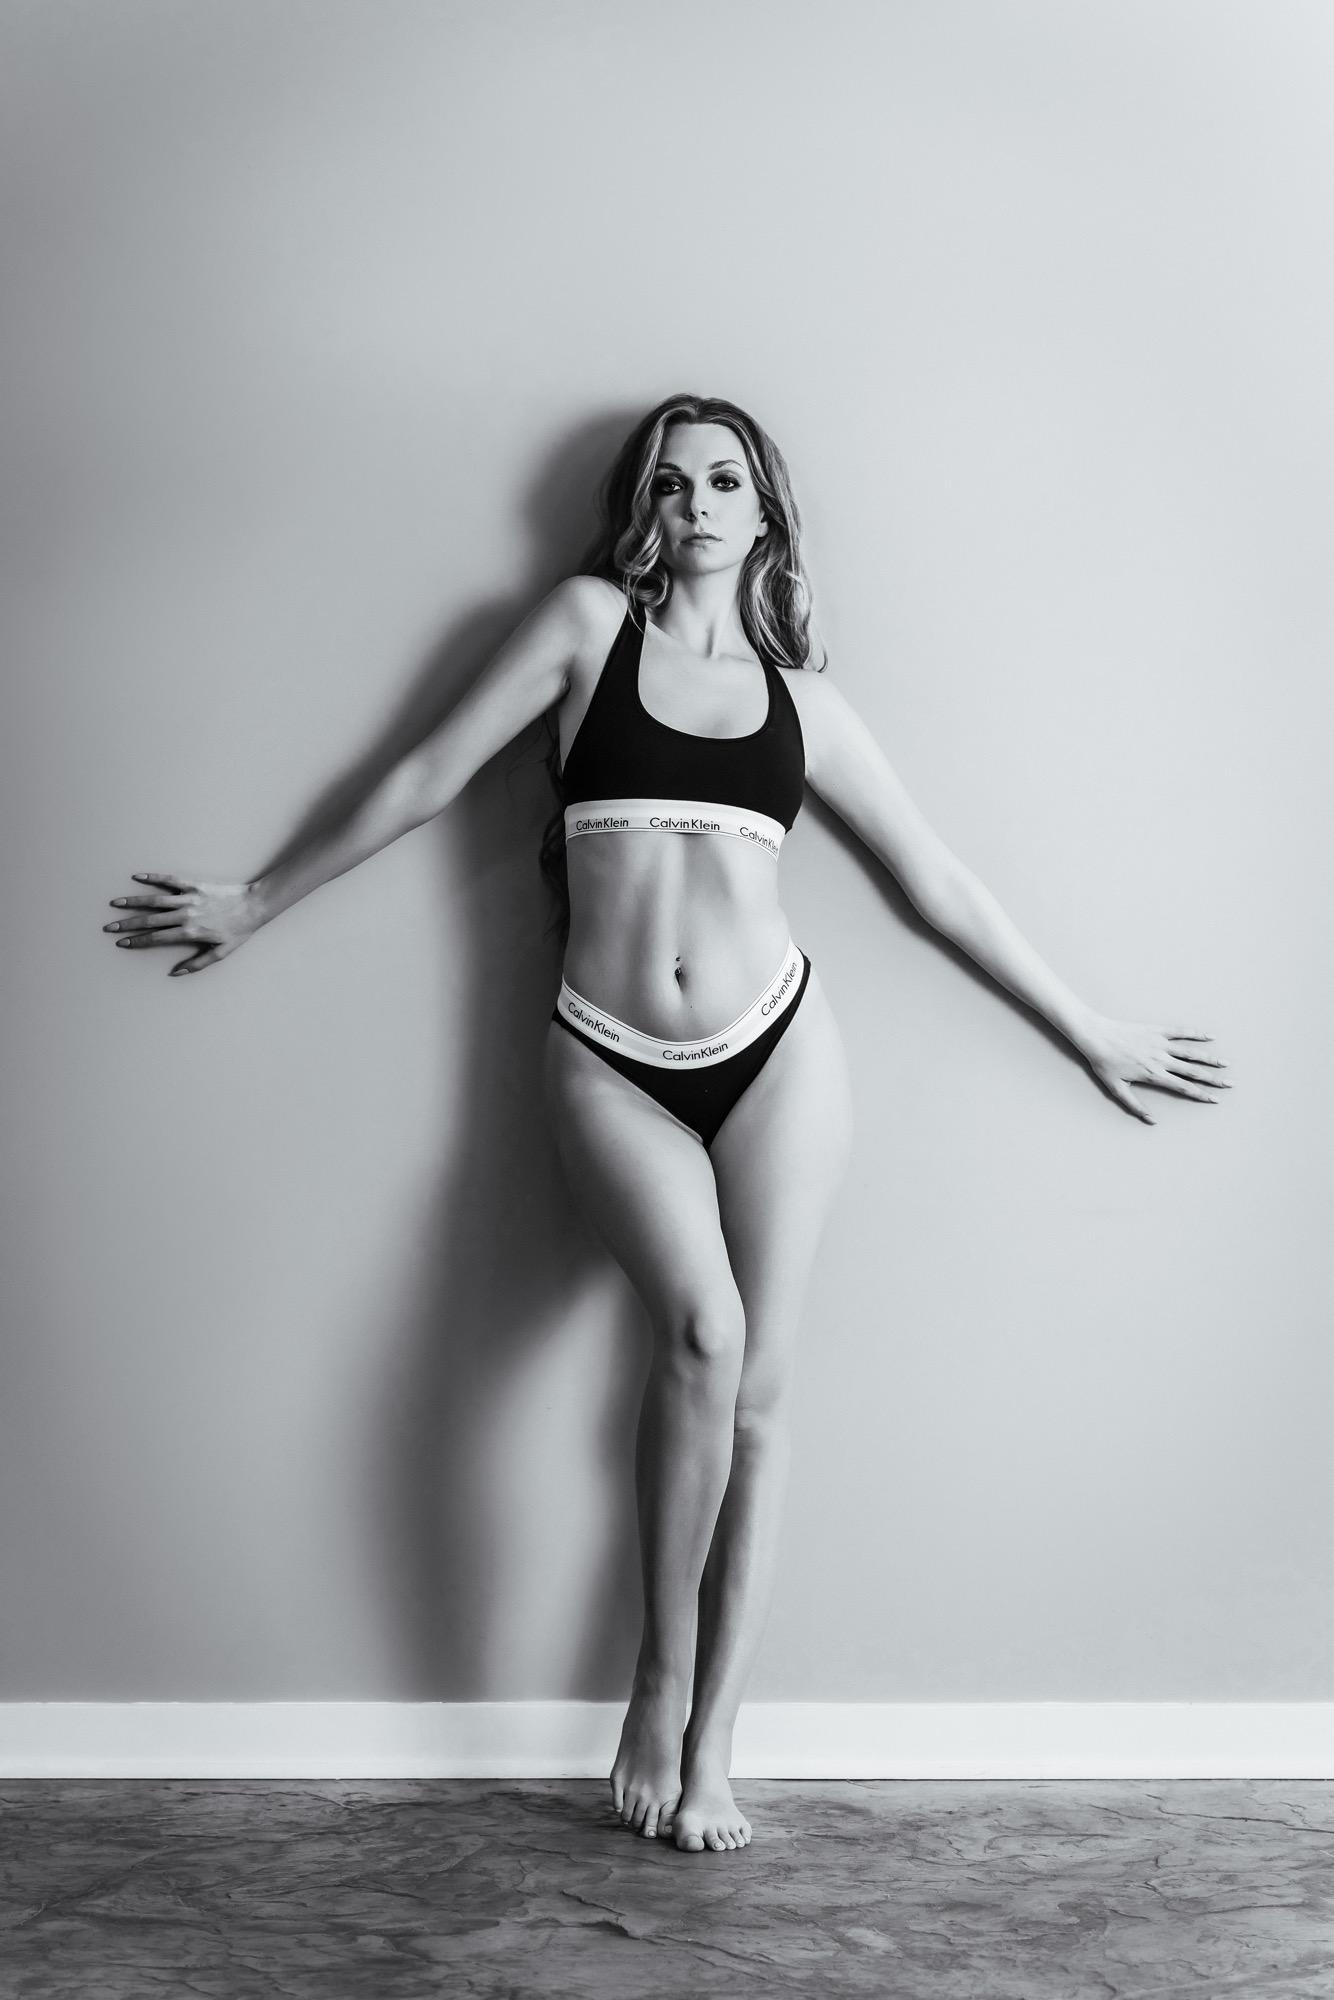
Hourglass bodies have proportional bust and hips with a defined waist. The challenge here isn't creating curves — it's showcasing them with balance and elegance without letting them dominate the composition.
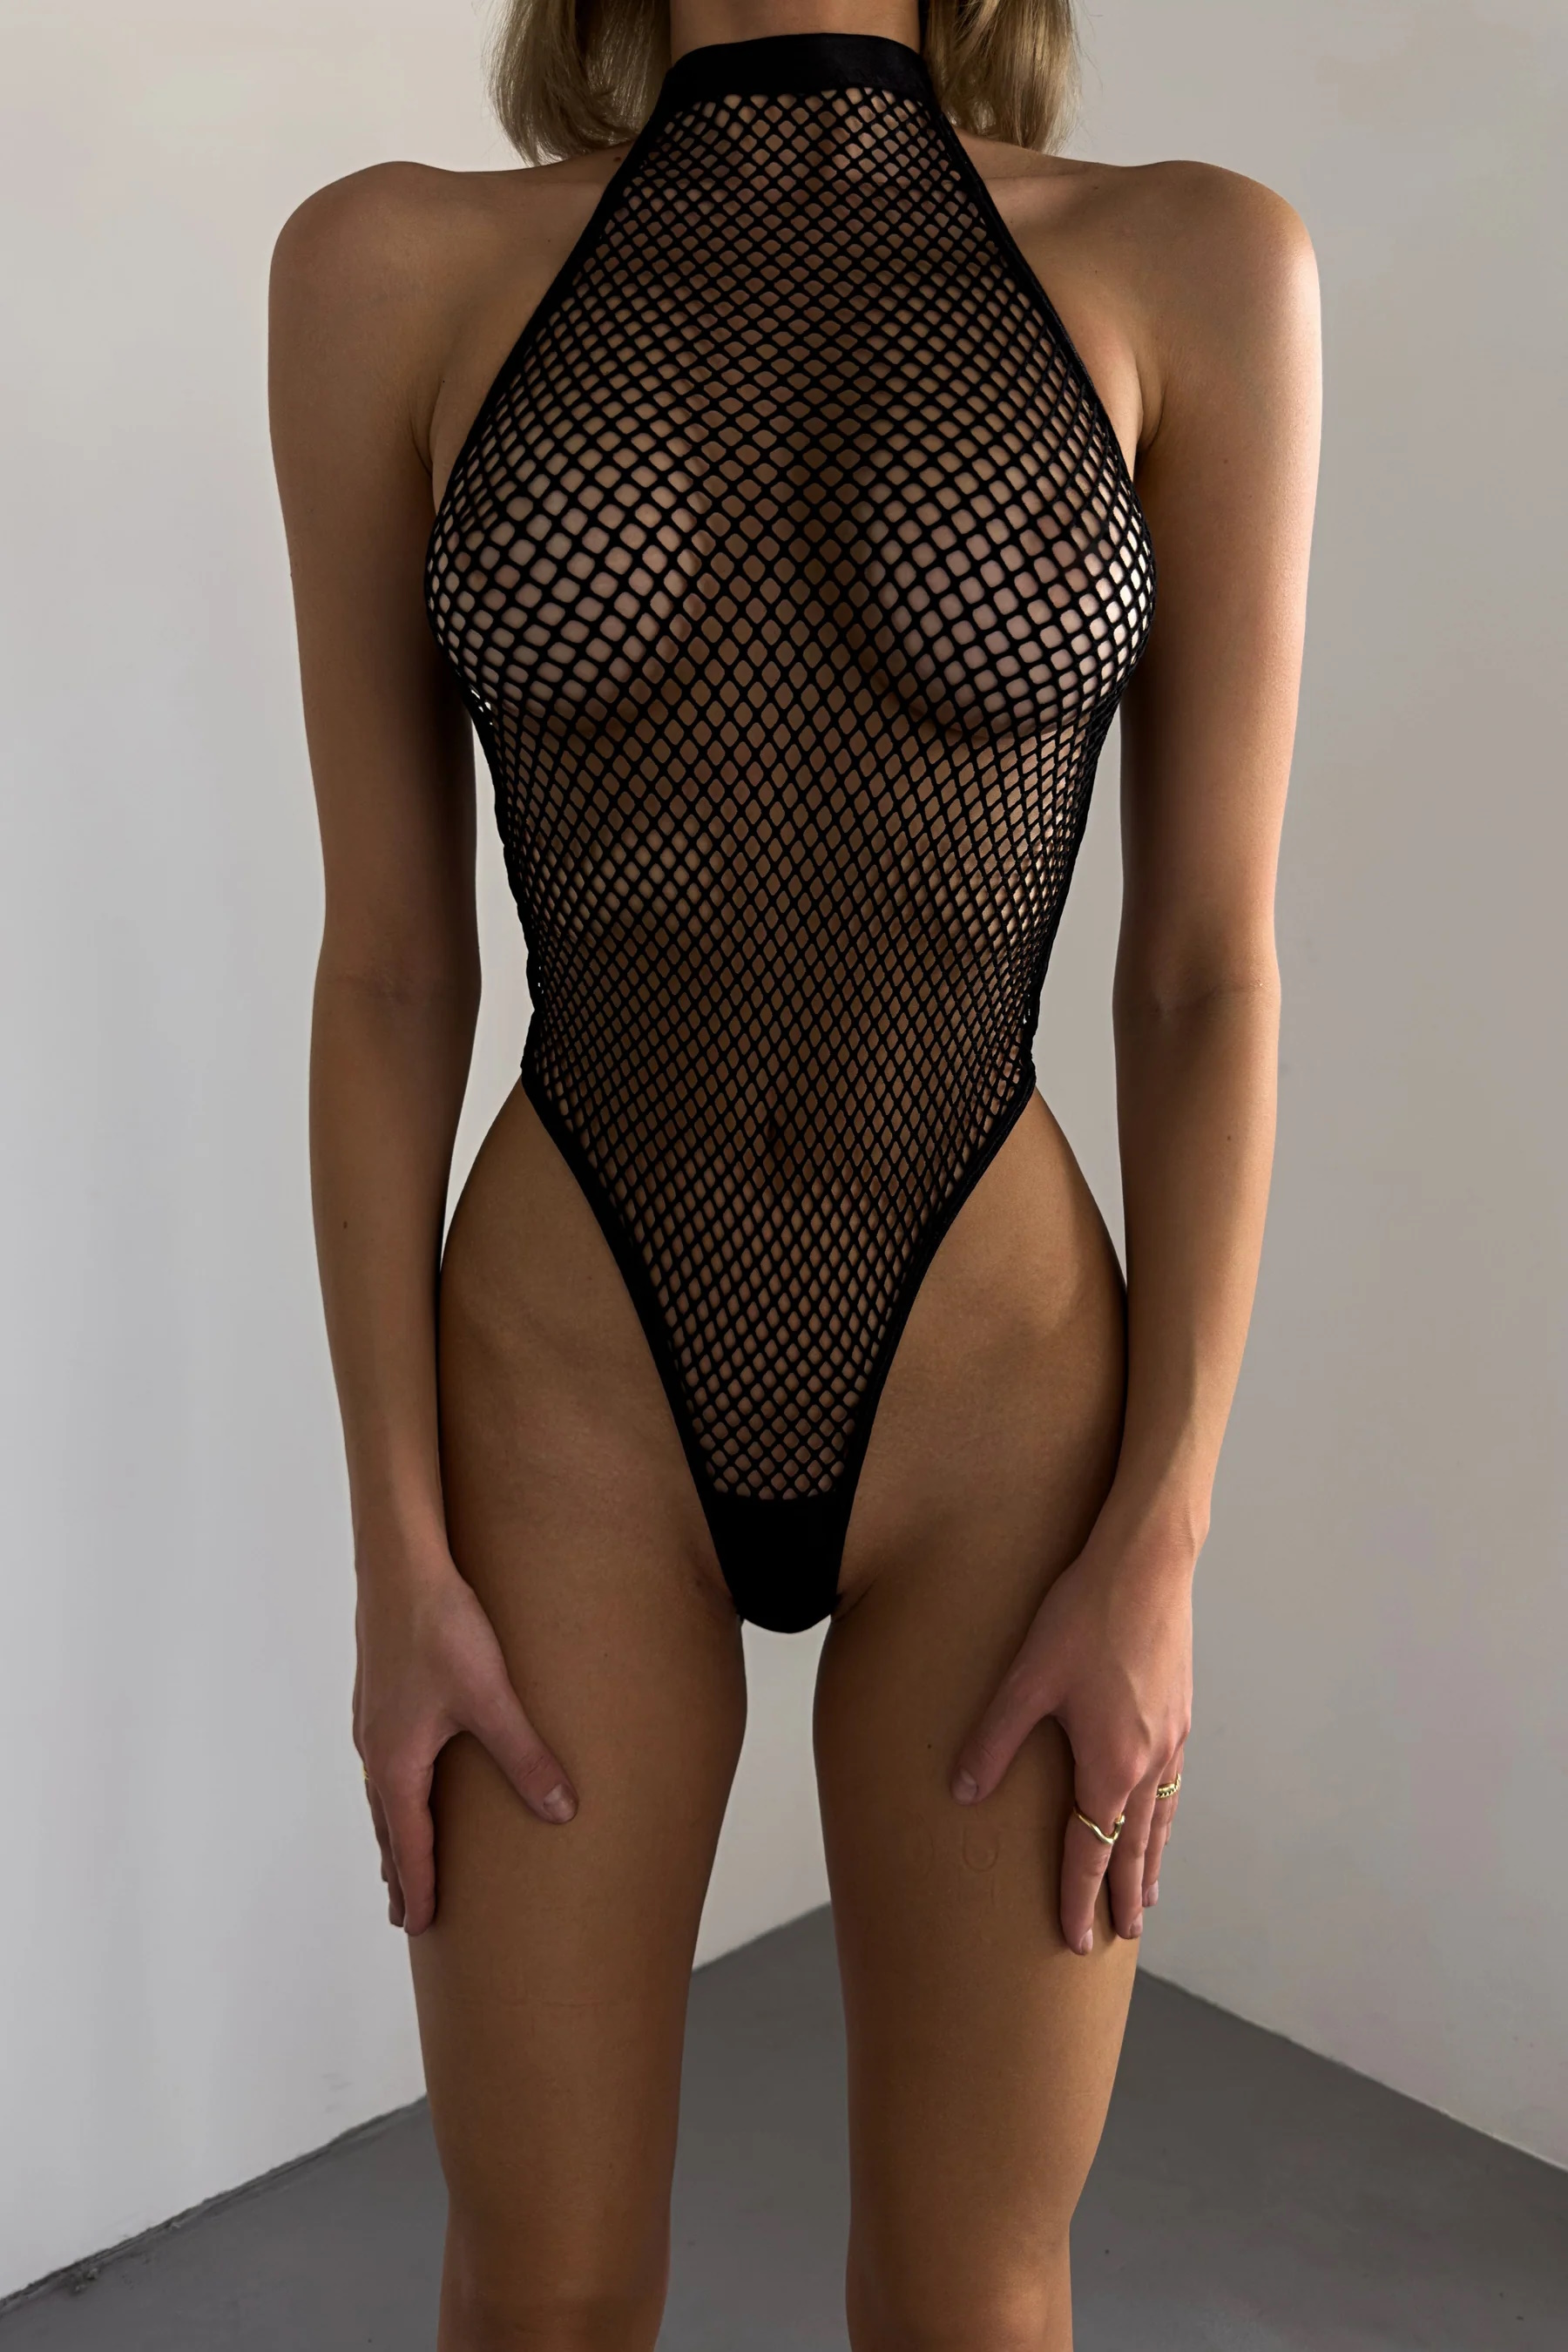
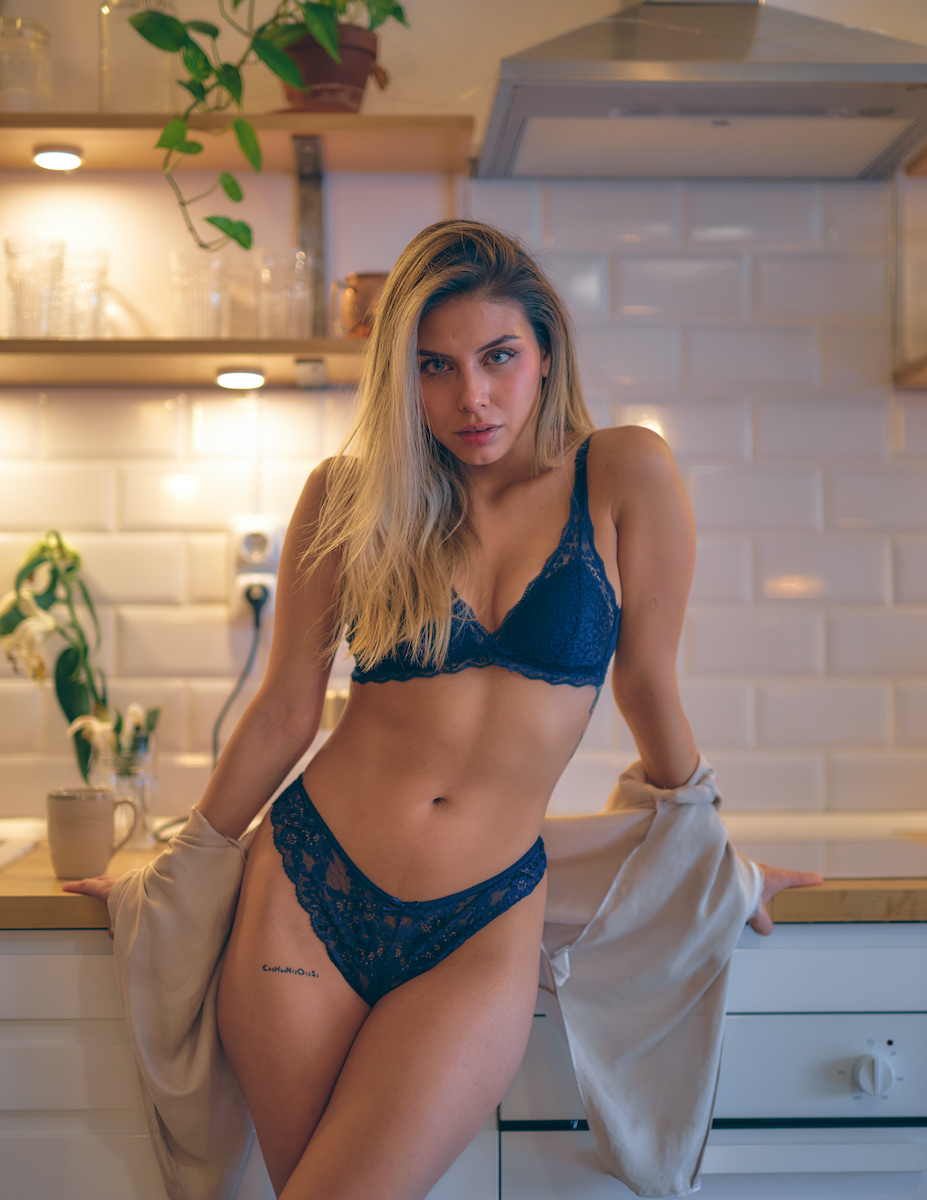
The key is celebrating the waist. Poses that emphasize the waist-to-hip ratio create stunning, feminine silhouettes. Standing poses with weight shifted to one leg, side-lying poses that compress the waist, and seated poses with torso elongated all work beautifully.
Body Type Effectiveness Ratings
Avoid poses that compress or flatten the natural waist curve. Straight-on standing poses or lying flat on the back can minimize the hourglass shape. Instead, use angles and elevation changes to showcase proportions.
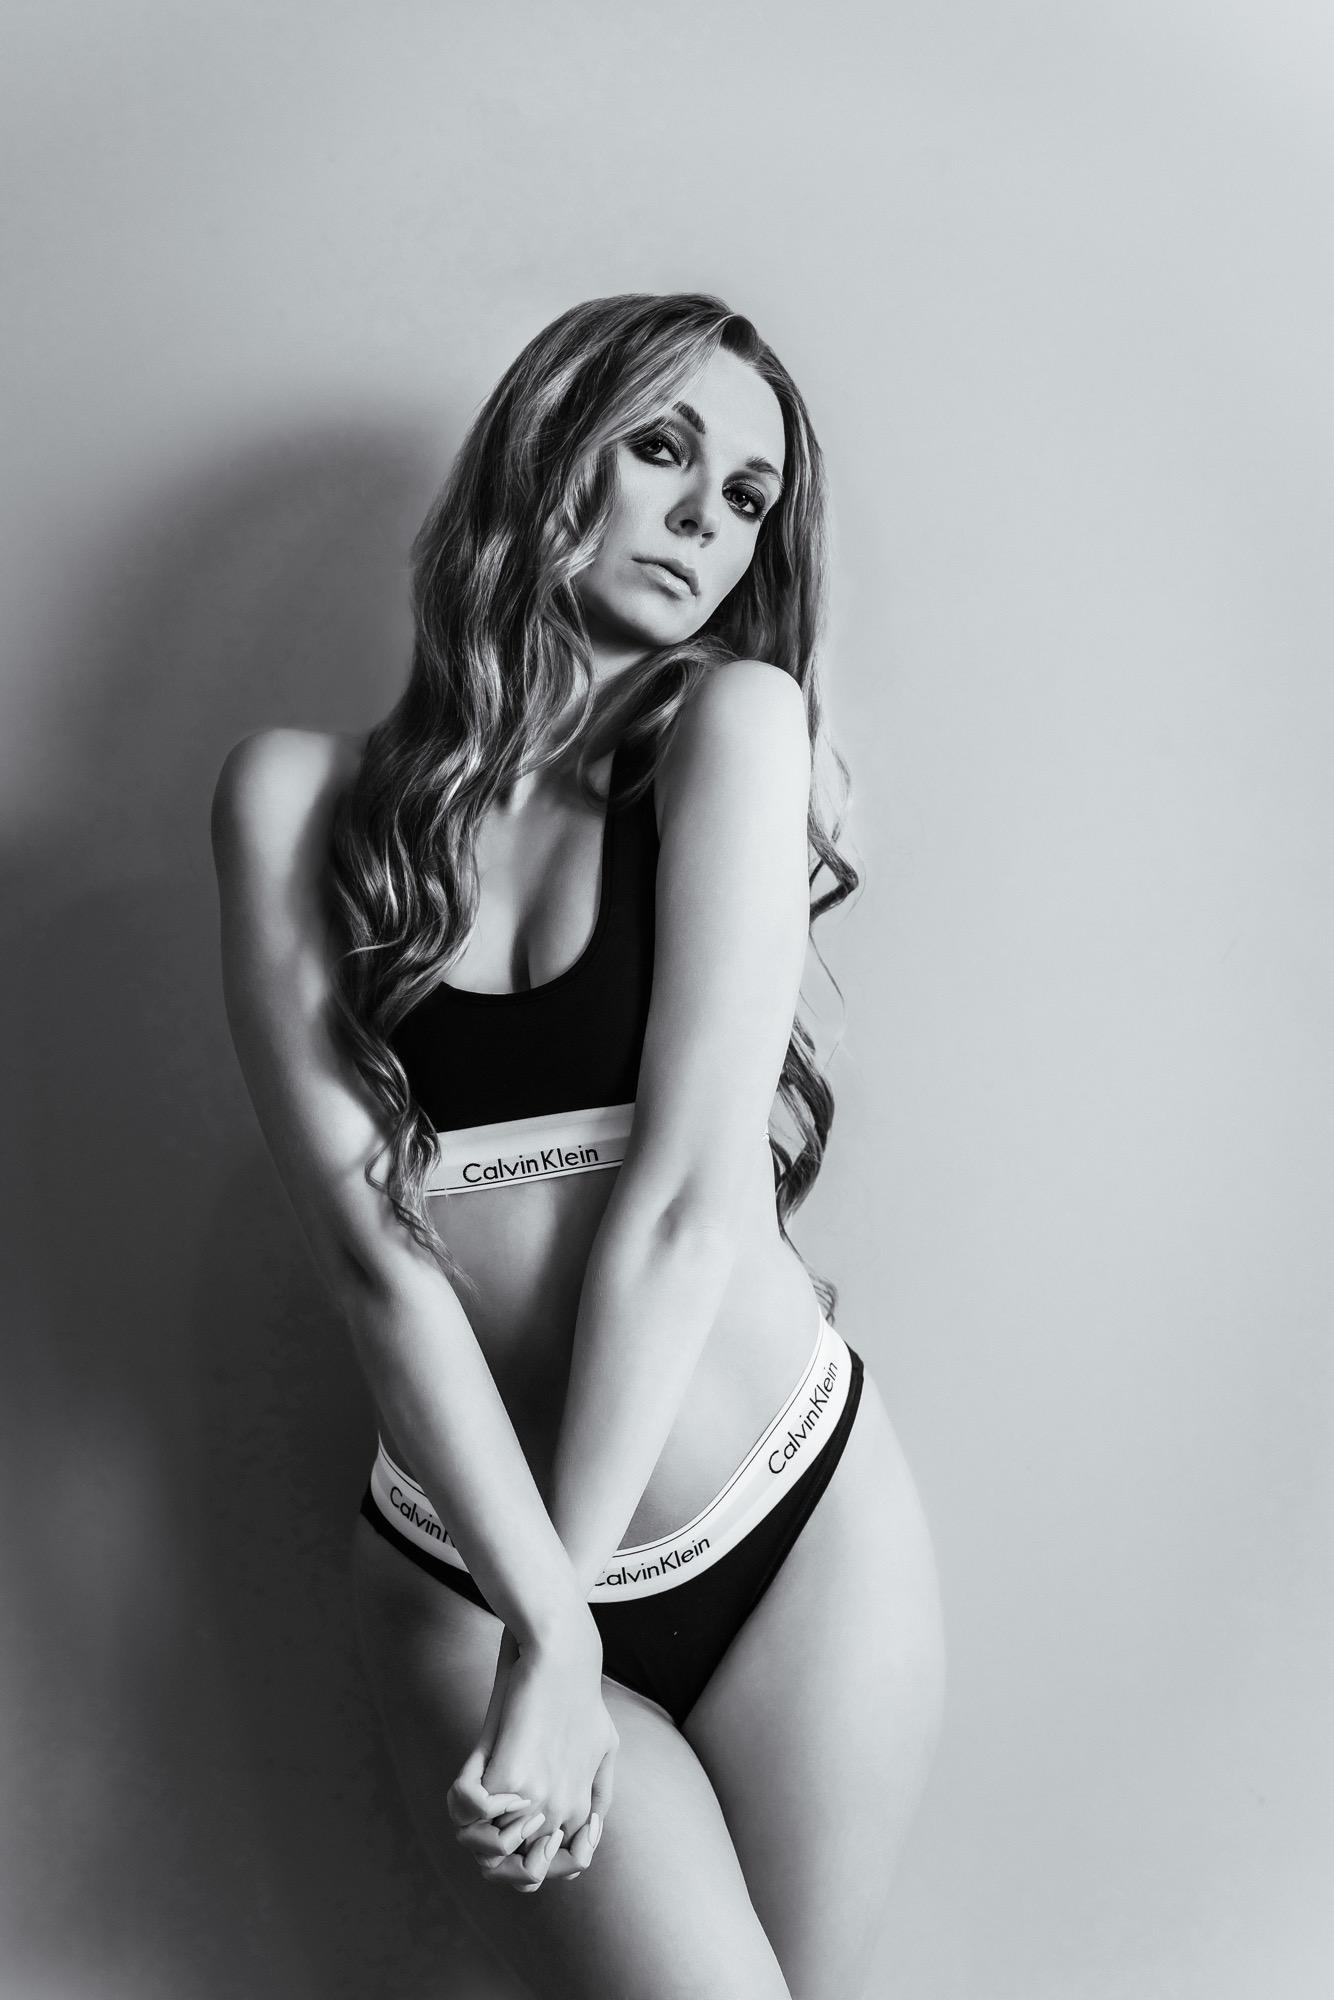
Hand Placement Secrets: How Small Adjustments Create Major Shape Definition
Hands are one of the most overlooked yet powerful tools in boudoir posing. Where your client places her hands can define her waist, elongate her neck, create negative space, and add elegance to any pose.
The magic is in the softness. Hands should never be clenched or flat against the body. Think gentle touches: fingertips grazing the collarbone, one hand resting lightly on the hip, fingers softly curled in hair. This creates elegance and natural movement.
💡 Pro Tip
Ask your client to place her hands somewhere, then tell her to "barely touch" instead. This one adjustment transforms rigid hand placement into soft, natural elegance instantly.
Camera Angles That Flatter Every Body Type (Height, Distance & Lens Choice)
Your camera position matters as much as the pose itself. The same pose can look completely different when shot from eye level versus slightly above, or from 6 feet away versus 10 feet away. Understanding these technical elements gives you control over the final result.
Camera height by body type:
- Pear shapes: Shoot from slightly above eye level (chest height). This compresses the lower body proportionally while keeping the face and upper body prominent.
- Apple/Athletic: Shoot from slightly below eye level (waist to chest height). This elongates the torso and creates the appearance of longer lines.
- Hourglass: Eye level or slightly below works beautifully. The natural proportions photograph well without needing significant angle adjustments.
Distance and compression: Shooting from farther away with a longer focal length (85mm-135mm) compresses features and creates a more flattering perspective. Close-up shots with wide lenses (35mm-50mm) can distort proportions, making the closest body parts appear larger.
If you're exploring creative setups, consider experimenting with unique boudoir locations that offer natural elevation changes — staircases, raised platforms, or sunken areas that let you position your camera at flattering heights organically.
Frequently Asked Questions
What is the most flattering boudoir pose for curvy women?
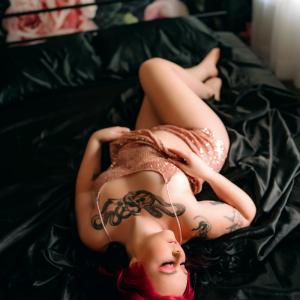
Side-lying poses with the top leg bent work beautifully for most curvy body types. This position compresses the waist, elongates the body, and creates natural curves. The key is angling the hips slightly away from the camera while keeping the face turned toward it.
How do you pose plus-size clients for boudoir photography?
Focus on creating dimension through angles rather than hiding the body. Use strategic hand placement, fabric draping, and camera angles that emphasize the client's favorite features. Always ask what they want to highlight — confidence comes from feeling seen and celebrated, not minimized.
What camera angle is most flattering for curvy boudoir clients?
For pear-shaped bodies, shoot from slightly above eye level. For apple and athletic builds, shoot from slightly below eye level to elongate the torso. Always use a longer focal length (85mm or higher) and maintain distance to avoid distortion.
What should curvy women wear for a boudoir photoshoot?
High-waisted bottoms elongate the legs and define the waist. Sheer robes add softness without hiding curves. Corsets and bodysuits create stunning silhouettes. The most important factor is wearing something that makes the client feel confident and beautiful — authenticity always photographs best.
How do you create waist definition in boudoir poses?
Use twisting, arching, and hand placement. When the torso twists away from the camera while the face turns toward it, the waist appears more defined. Hands on hips with fingers pointing forward cinch the waist visually. Arching the back creates an S-curve that emphasizes natural curves.
Photographing curvy women in boudoir isn't about mastering one universal technique — it's about understanding how different body types interact with angles, light, and fabric, then using that knowledge to create images that celebrate your client's unique beauty. When you combine body-type-specific posing with genuine connection and confidence-building, you create transformative images that empower every client who steps in front of your camera.
Ready to create stunning, confidence-building boudoir images for clients of every shape? Start with these body-type-specific techniques, adapt them to your client's unique proportions, and watch as their confidence transforms in front of your lens.
 Ad
Ad