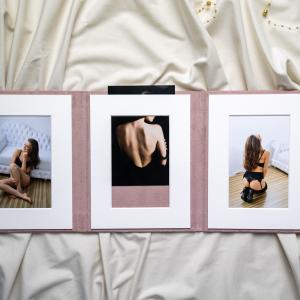
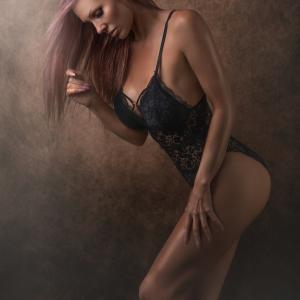
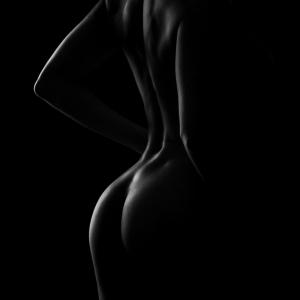
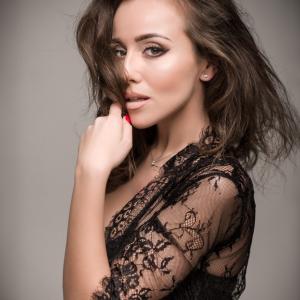
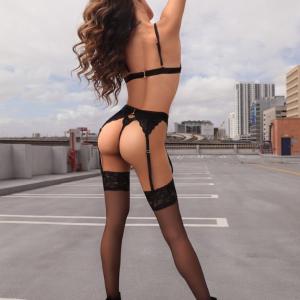
A boudoir posing guide is a structured system of flattering, repeatable poses that photographers use to help clients of all body types feel confident and look their best. The best boudoir poses create elegant lines through angled body positioning, intentional hand placement, and natural movement — emphasizing what the client loves rather than hiding perceived flaws.
✨ Key Takeaways
- Posing is communication, not direction - — guide your client with encouragement, not commands, to build trust and confidence.
- Diagonal lines create the most flattering silhouette - — angle the body at 45 degrees to the camera and avoid straight-on shots.
- Every body type has its own power poses - — from S-curves for standing shots to reclining poses that celebrate curves.
- Props are posing tools, not distractions - — sheets, pillows, and chairs add dimension and give hands a natural place to rest.
- Build a natural flow from simple to vulnerable poses - — start upright and gradually move to lying-down shots as comfort grows.
What Is the Boudoir Posing Guide and Why Does It Matter?
A boudoir posing guide is not a rigid script — it is a repeatable system of flattering poses that adapts to every body type, confidence level, and setting. For photographers, mastering posing is the single most impactful skill you can develop. It transforms a nervous first-time client into someone who sees themselves as beautiful.
Great posing starts with communication, not direction. When you guide a client — using descriptive language like "soften your shoulders" or "imagine a string pulling you up from the crown of your head" — they respond with natural, authentic movement. Commands like "turn left" or "put your hand there" create stiffness. The difference is palpable in the final image.
This guide covers standing, seated, lying-down, and plus-size-specific poses, along with prop integration and session flow. Whether you are photographing in a dedicated studio, a hotel room, or a client's home, these principles apply universally.
How Do You Prepare a Client for Posing Before the Shoot?
Preparation begins long before the camera clicks. During the pre-shoot consultation, discuss comfort levels, favorite angles, and any areas the client feels nervous about. This conversation is the foundation of trust — and trust is what allows a client to relax into a pose.
Send a posing mood board or style guide so clients see what to expect. Visual reference removes the guesswork. During hair and makeup, start with simple warm-up poses: a gentle turn of the shoulders, a soft chin drop, a hand resting on the collarbone. Let the client see themselves in a mirror or through a tethering setup so they can adjust in real time.
Breathwork is an underrated tool. A few deep inhales and slow exhales release tension in the jaw, shoulders, and hands — three areas that directly affect how natural a pose looks.
📋 Pre-Shoot Posing Preparation Checklist
What Are the Best Standing Boudoir Poses?
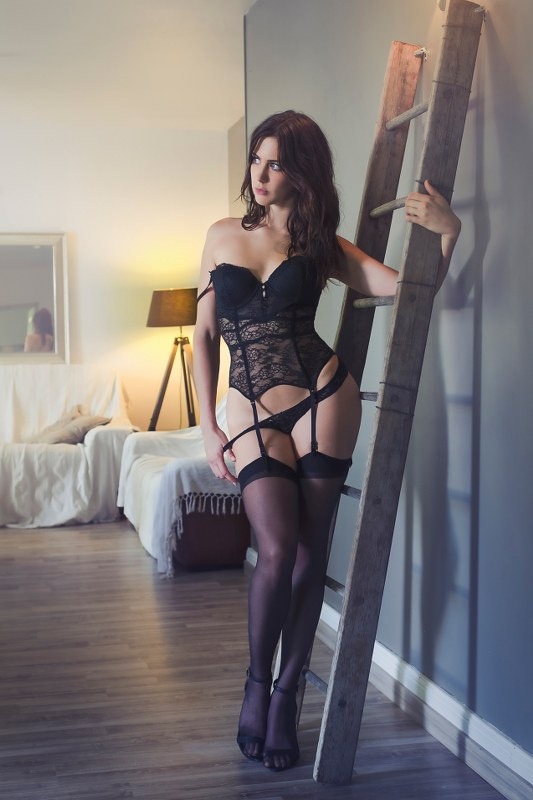
Standing poses are where most sessions begin. They are upright, accessible, and give the client a sense of control while you establish rhythm. The classic S-curve is the foundation: weight on the back foot, front knee soft, shoulders rolled back and down. This creates the elegant serpentine line that reads as confident and sensual in every frame.
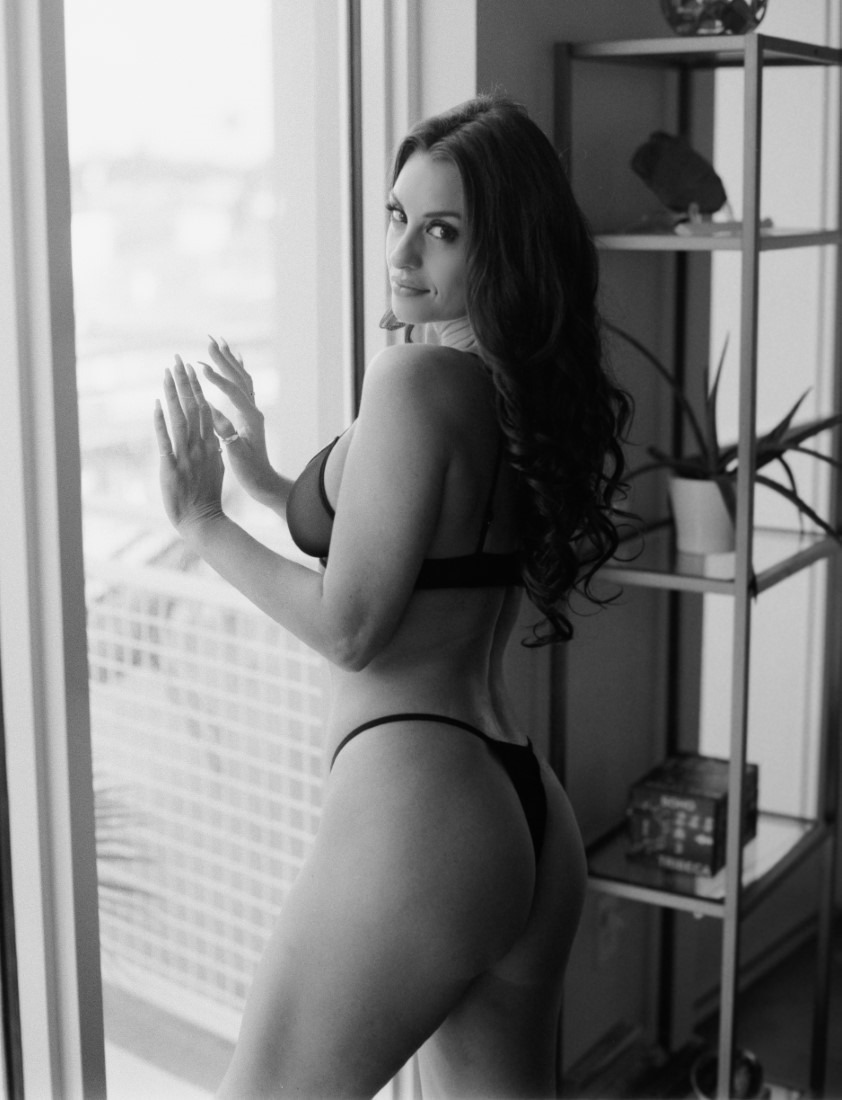
Leaning against a wall or doorframe adds natural support and introduces angles. The client can shift weight into the wall, creating a relaxed diagonal. Hand-on-hip variations — one hand, both hands, soft versus assertive — change the mood from playful to powerful. The looking-back-over-the-shoulder pose elongates the neck and adds an element of mystery.
Feet positioning matters more than most photographers realize. Crossed ankles create a demure, intimate feel. A staggered stance adds dynamic energy. One foot on a low prop, like a stool or step, opens the hip and creates a beautiful line from ankle through the torso.
💡 Pro Tip
When guiding the S-curve, ask your client to imagine a string pulling them up from the crown of their head while their tailbone drops slightly. This naturally engages the core, relaxes the shoulders, and creates that elongated, graceful line without any stiff posing.
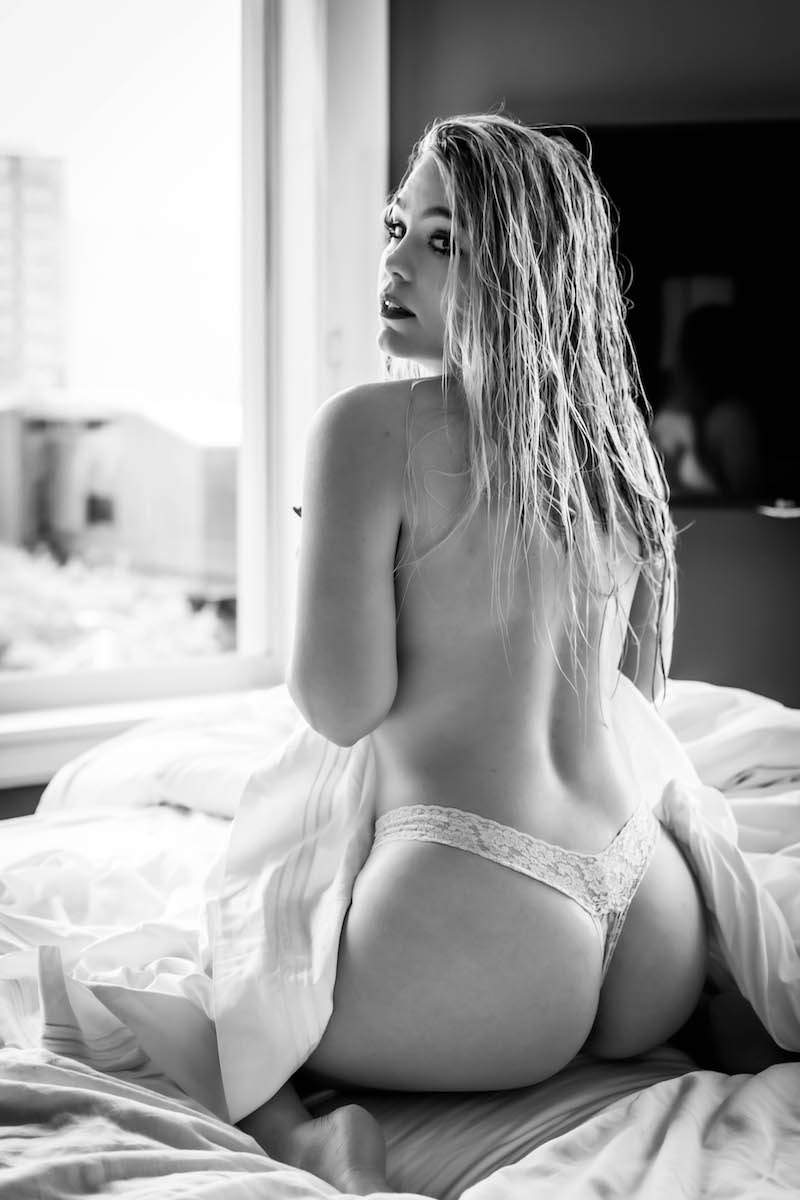
What Are the Most Flattering Seated Boudoir Poses?
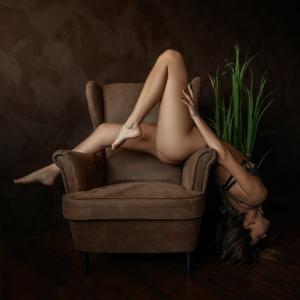
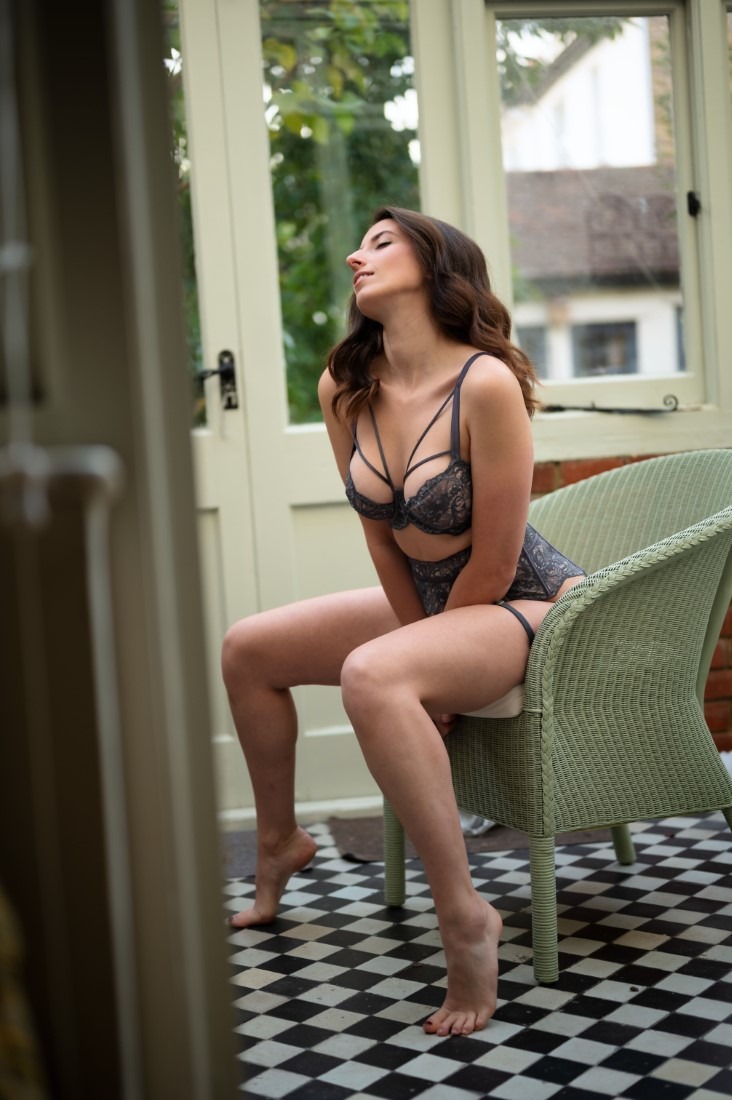
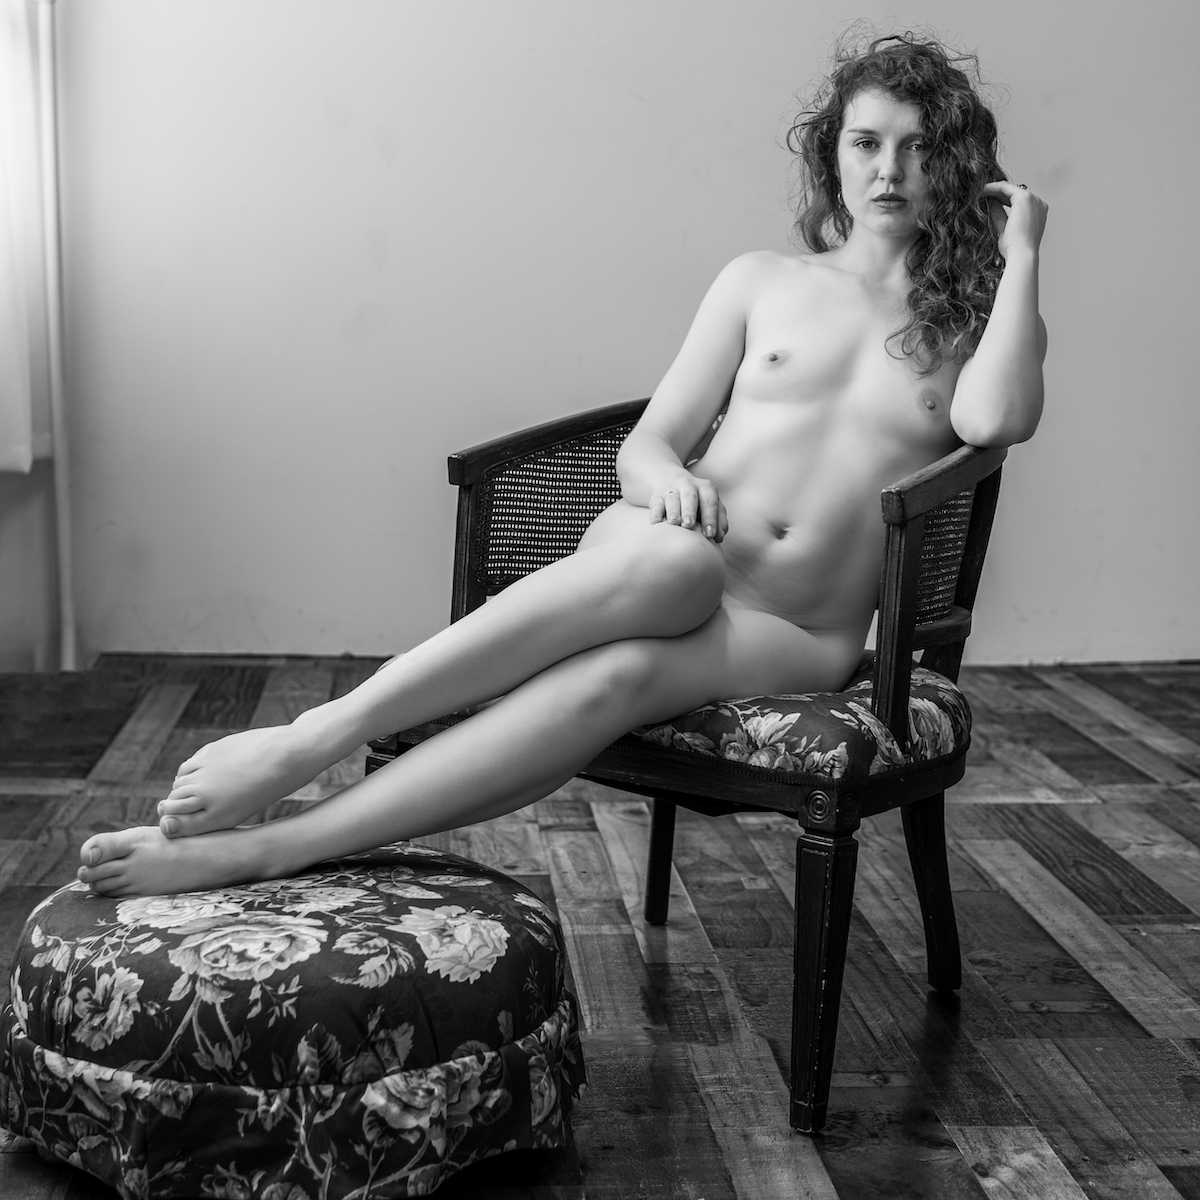
Seated poses bridge the gap between standing and lying-down — they feel more intimate but still allow for structure. Perching on the edge of a chair or bed with legs crossed at the ankle elongates the legs and creates a clean silhouette. The chaise lounge recline — one leg extended, one bent, arms draped naturally — is a timeless favorite because it mimics classical portraiture while feeling completely modern.
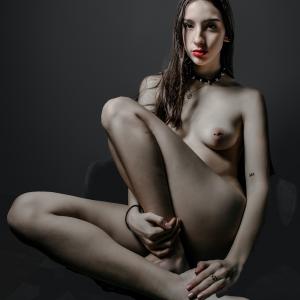
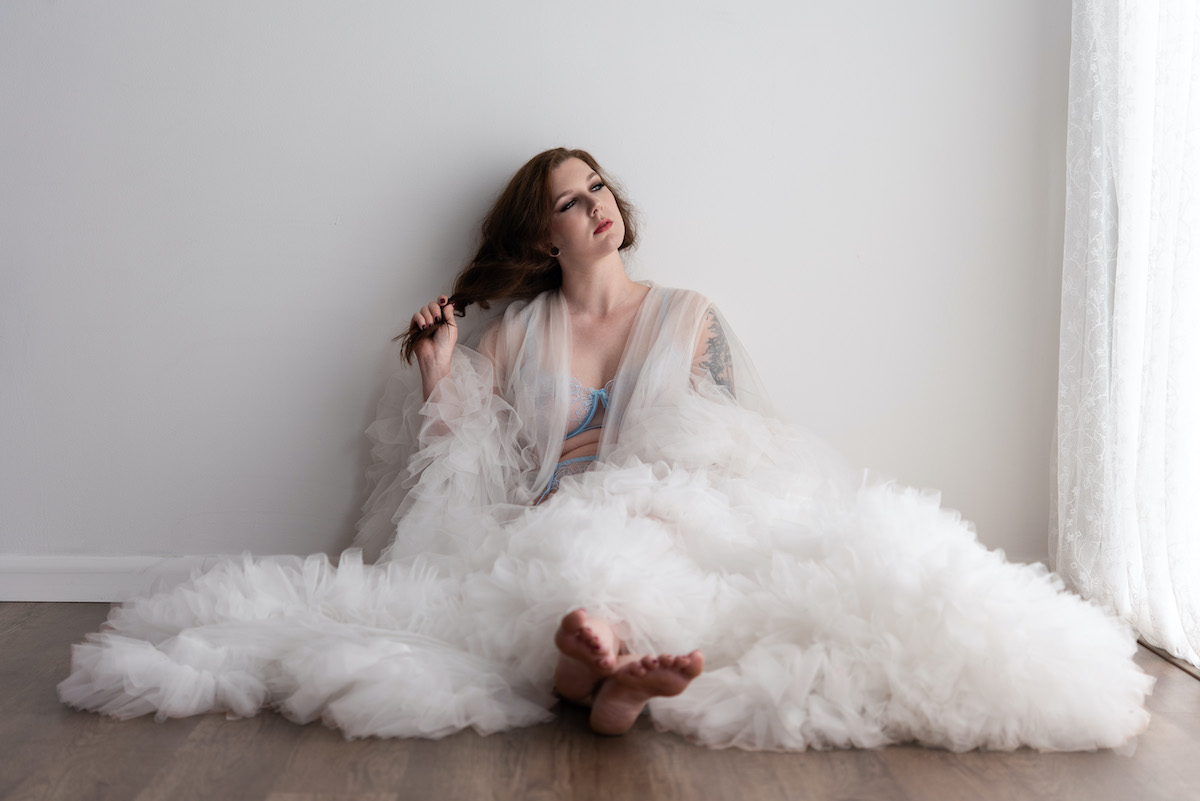
Floor poses offer an intimate, grounded alternative. Sitting with legs folded to one side or extended in a V-shape works beautifully for full-body shots. Using a stool or ottoman varies height and introduces diagonal lines that break up the frame. Hand placement matters: resting on the thigh, behind the head, or holding a prop like a sheet edge gives the hands purpose and eliminates the dreaded "what do I do with my hands" awkwardness.
✅ Do
- Angle the body at 45 degrees to the camera for diagonal lines
- Cross ankles when perched on a chair to elongate legs
- Rest hands on thighs or behind the head for natural placement
- Use a stool or ottoman to vary height and create depth
❌ Don't
- Shoot straight-on — it flattens curves and adds visual width
- Let hands dangle limply or clench into fists
- Sit fully back in a chair — it compresses the torso
- Forget to check for fabric bunching or awkward folds
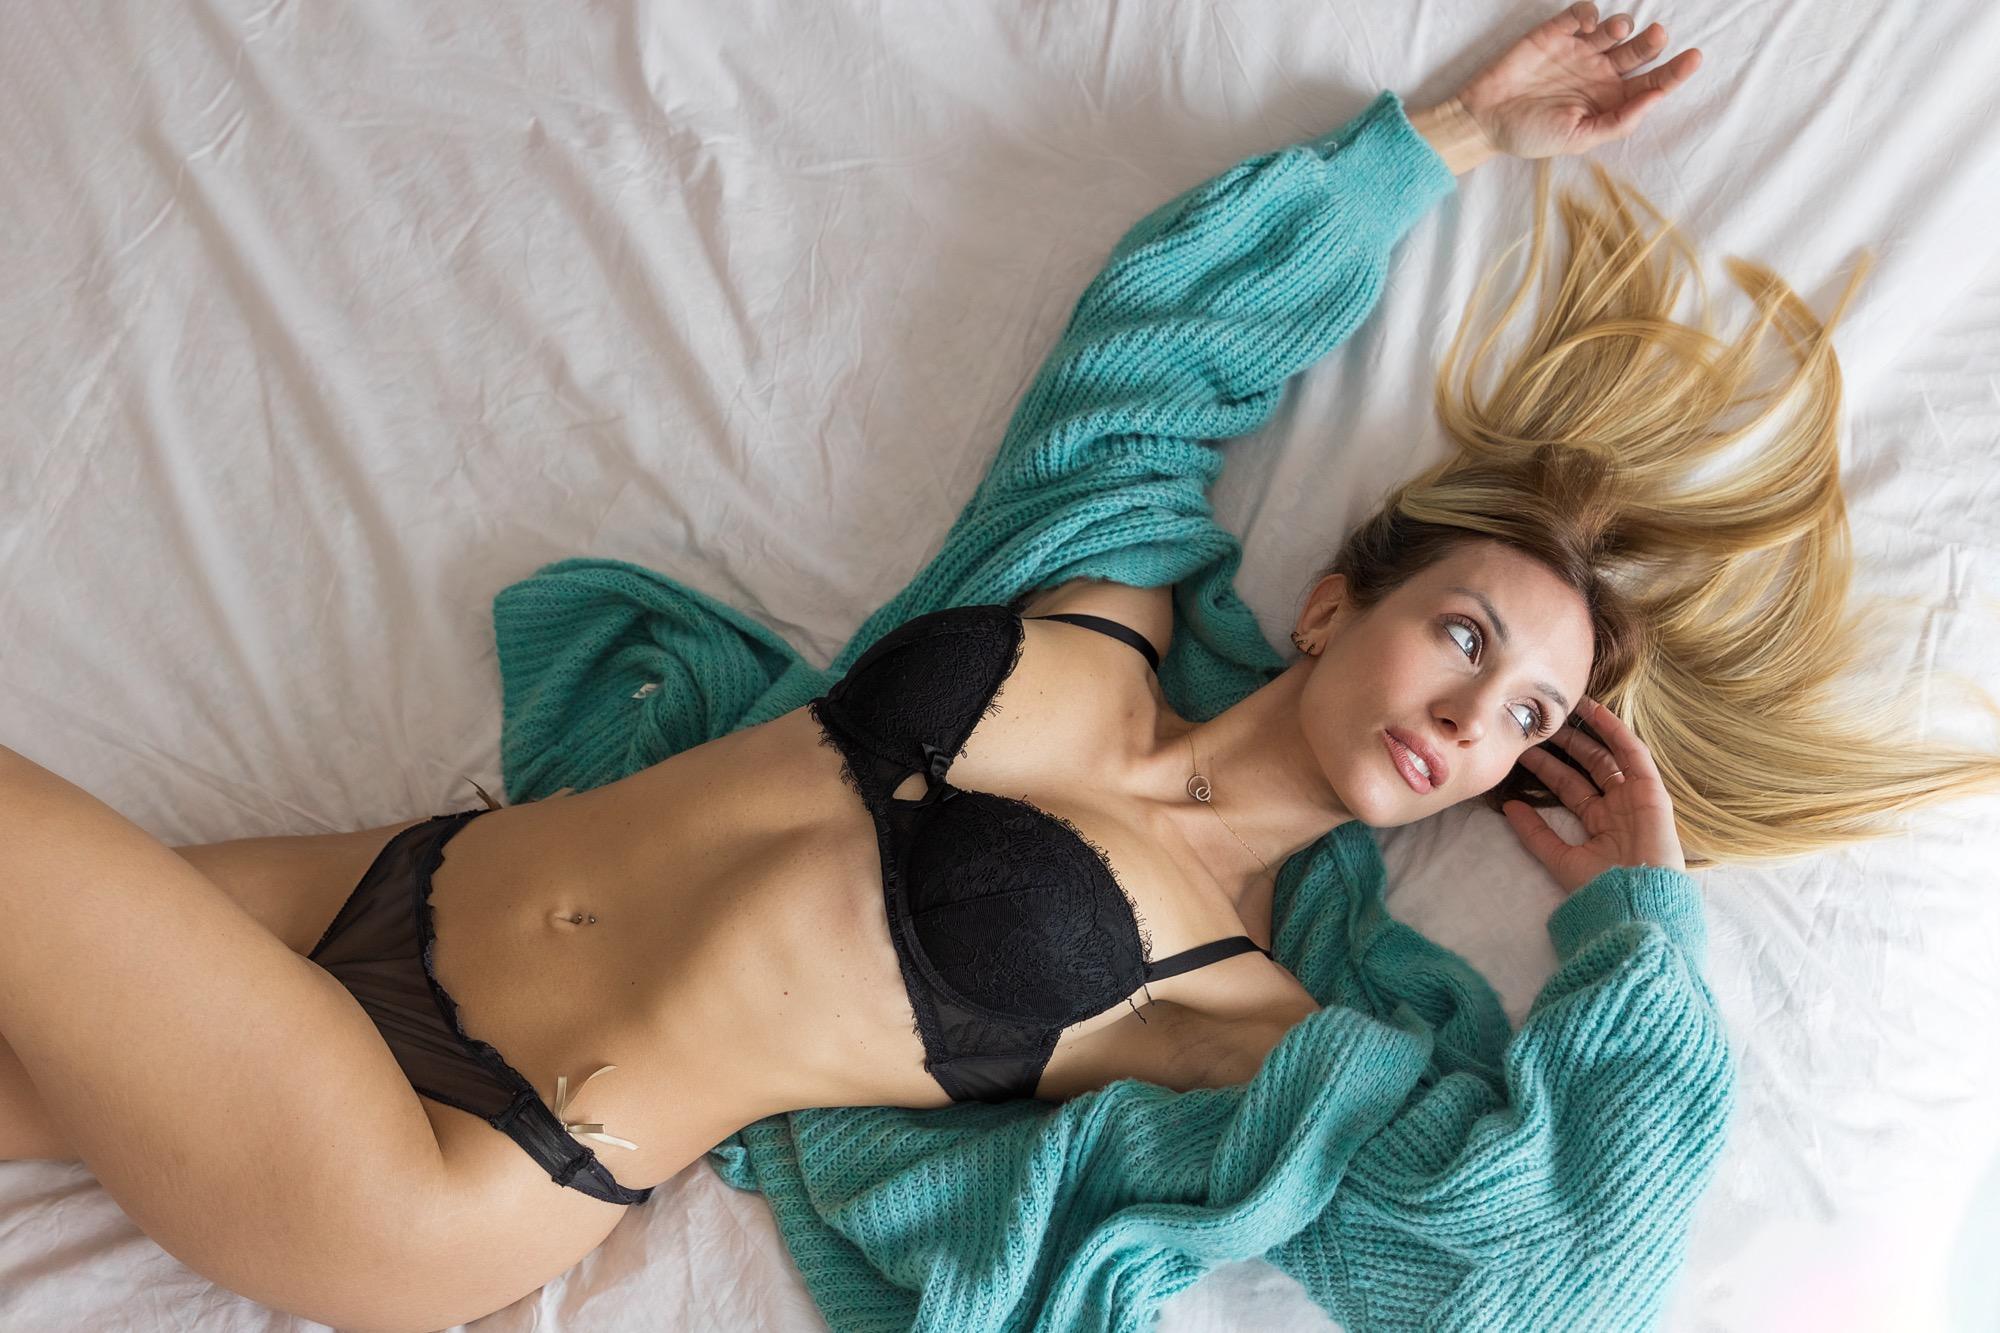
How Do You Pose Clients for Lying-Down Boudoir Shots?
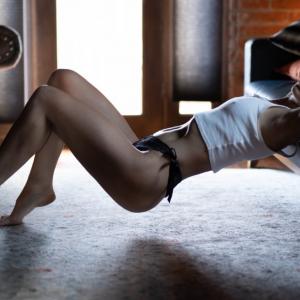
Lying-down poses require the most trust, so they work best after the client has warmed up with standing and seated positions. The classic side-lying pose is universally flattering: one arm under the head, top leg slightly forward with the knee bent, hip dropped toward the mattress. This position creates a continuous S-curve from shoulder to ankle.
On the back, ask the client to place both arms above the head with one knee bent inward. This opens the chest, elongates the torso, and creates a relaxed, candid feel. On the stomach, propping on elbows with feet kicked up is playful and lengthens the back. Use sheets and fabric to create movement — a gentle pull across the hip or a drape over the shoulder adds texture and strategic coverage.
Camera angle is critical. Shooting from slightly above — standing on a step stool or shooting from a higher tripod position — creates a downward perspective that is inherently flattering, narrowing the jaw and softening the body.
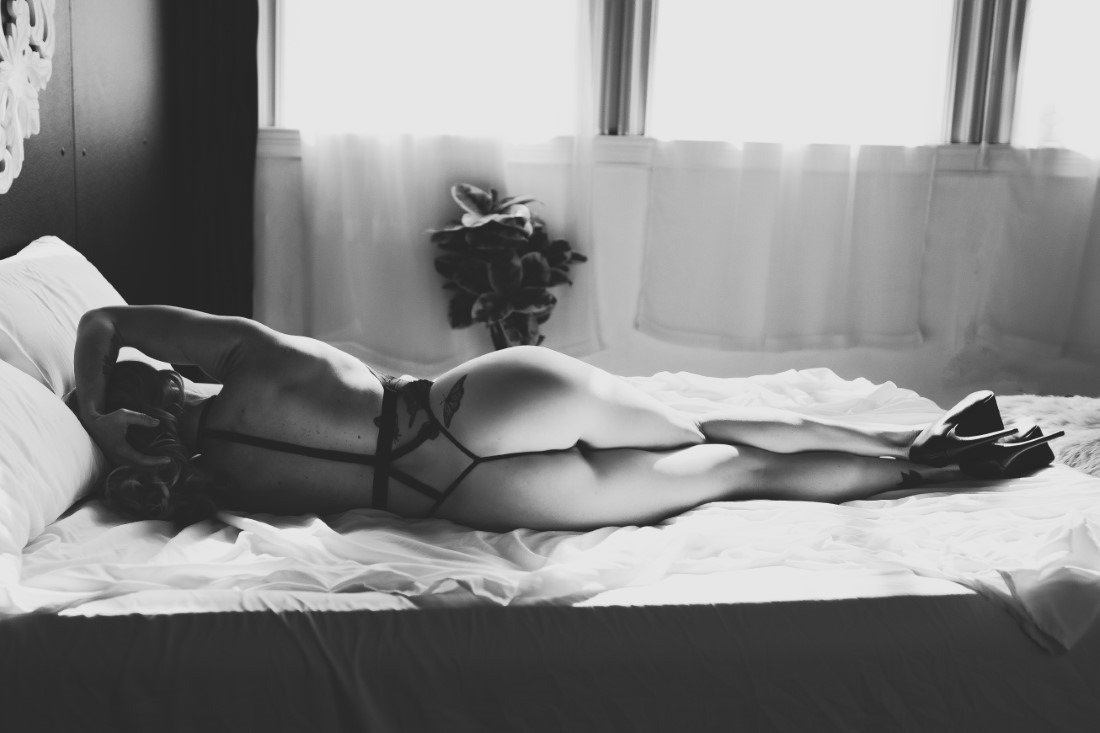
The Side-Lying Pose: Step by Step
What Are the Best Boudoir Poses for Plus-Size and Curvy Clients?
Posing for plus-size and curvy clients is about celebrating the full silhouette — not hiding it. The golden rule: never shoot straight-on. Angle the body 45 degrees to the camera. This creates diagonal lines that naturally slim and elongate while preserving the beauty of curves.
Wrapping poses are powerful. Ask the client to wrap their arms gently around their body or cross them softly at the waist. This creates a sense of self-embrace and defines the waistline without compression. Seated reclining poses — leaning back on hands with one knee bent — celebrate the full silhouette without any squeezing or flattening.
Fabric draping and strategic hand placement offer comfort and coverage on the client's terms. The most important principle: pose to show what the client loves, not to hide what they don't. Positive framing transforms the entire experience.
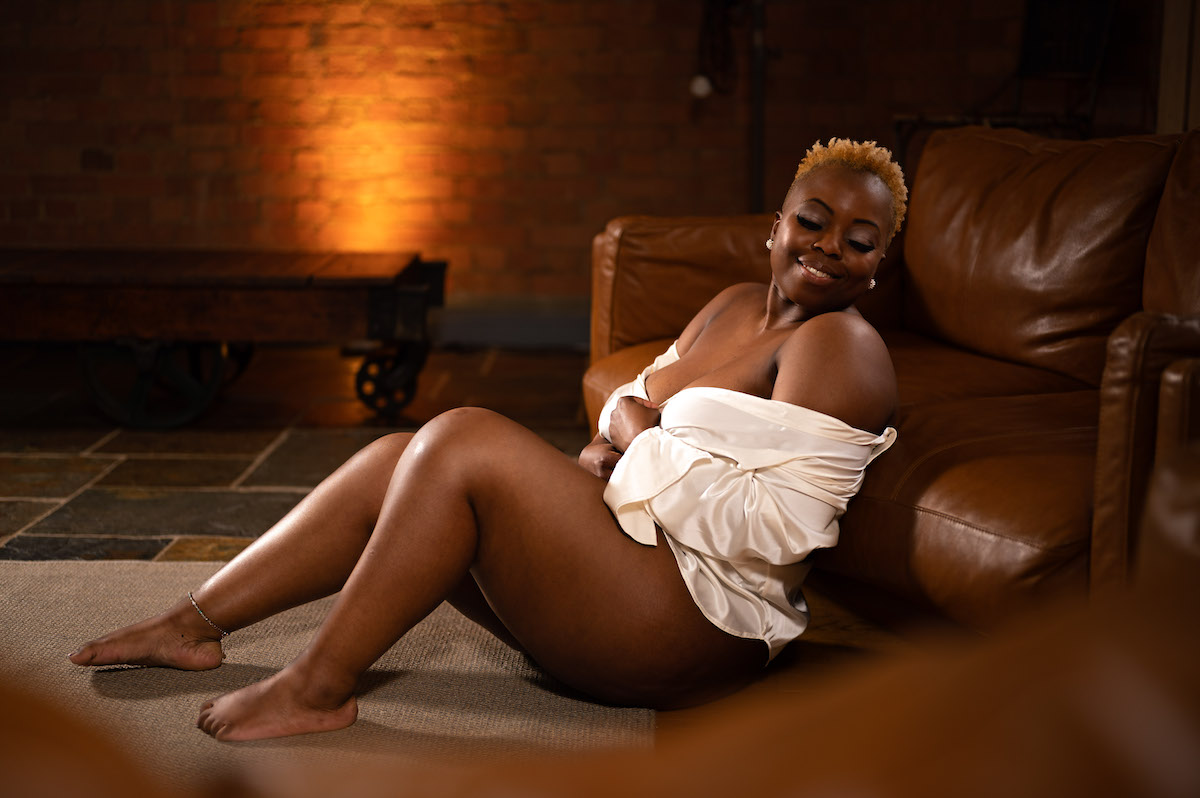
45°
The magic angle — positioning the body at 45 degrees to the camera creates the most flattering diagonal lines for every body type.
How Can You Use Props and Bedding to Enhance Posing?
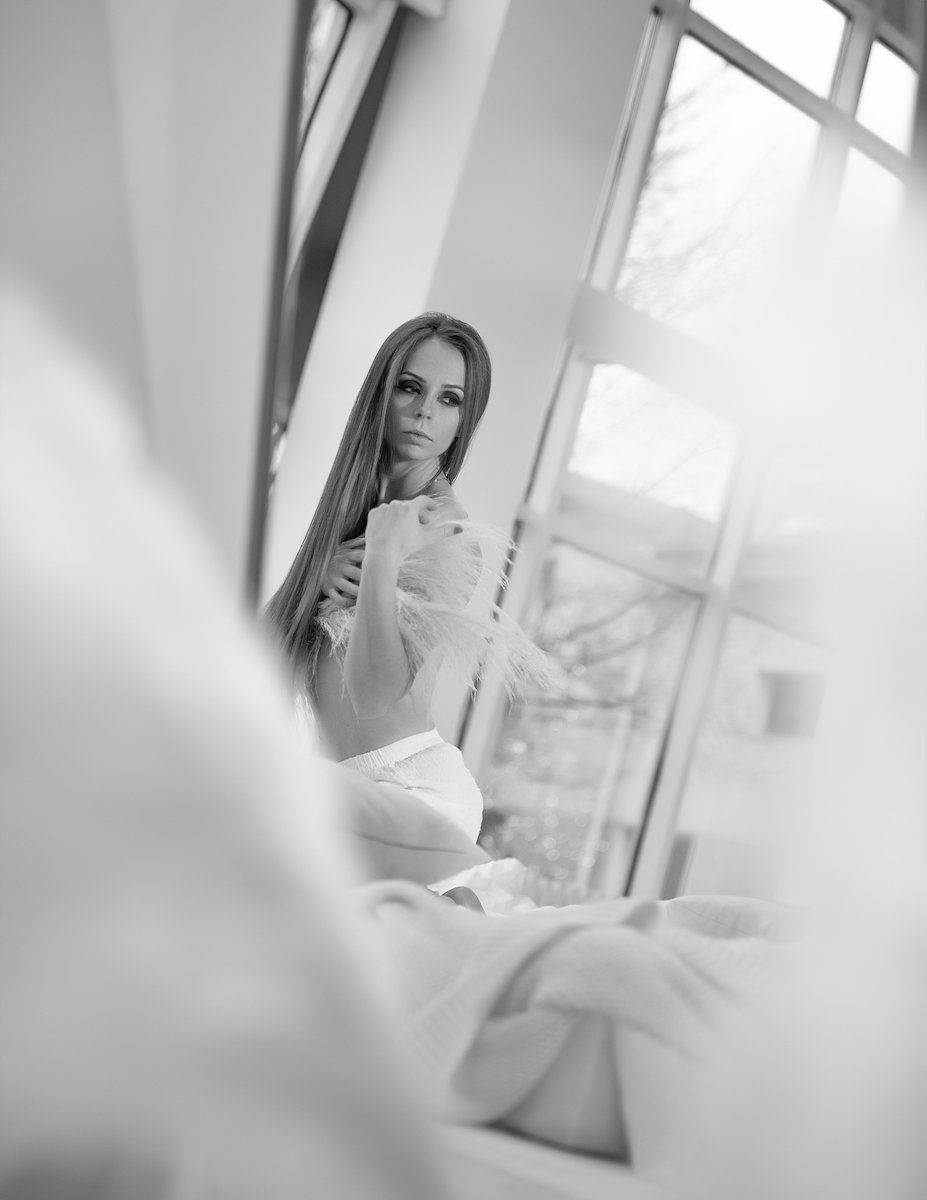
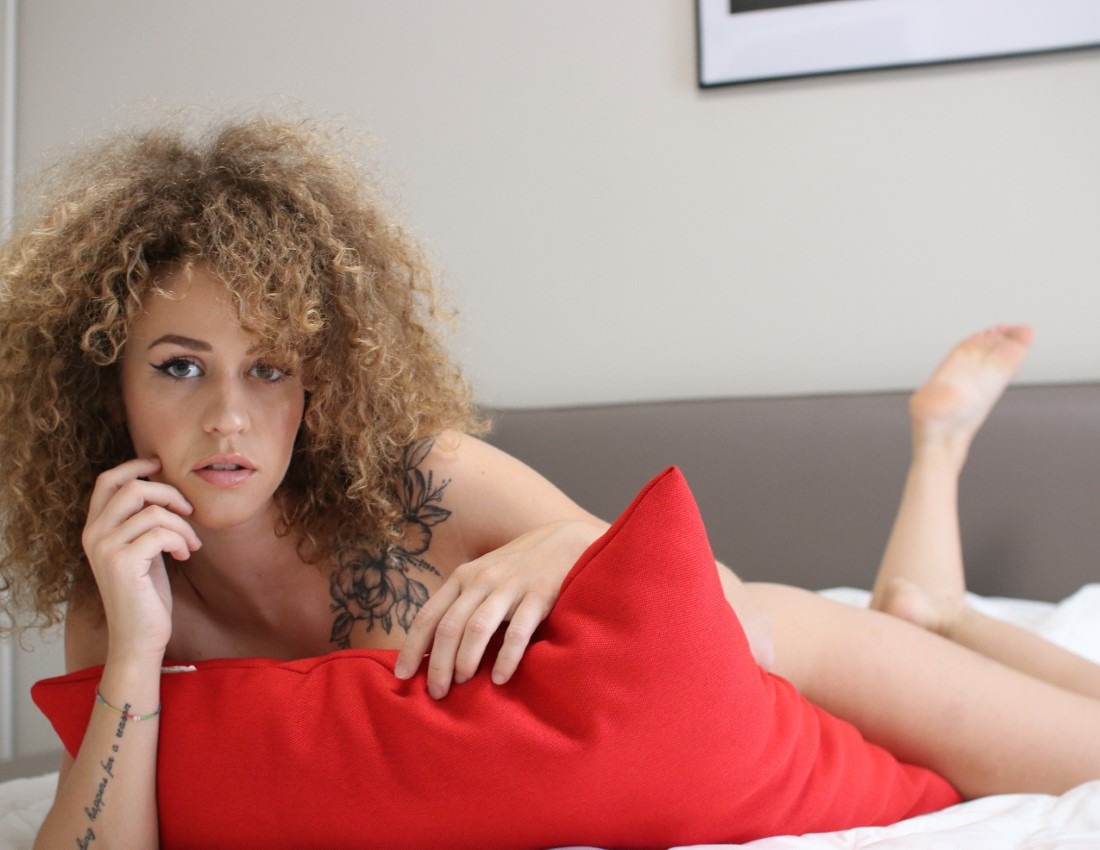
Props are not decorations — they are posing tools. Sheets and blankets work as framing devices: wrapped around the shoulders, draped across the lap, or pulled diagonally across the body. The act of holding fabric gives hands a natural purpose and creates dynamic lines through the frame.
Pillows provide critical support. Placed under the lower back, they create an arch that lifts the bust. Behind the head, they relax the neck. Between the knees during side-lying, they align the hips for comfort and better lines. Chairs, stools, and benches introduce height variation — essential for keeping a session visually diverse. Mirrors open up reflective poses and double angles. Flowers, veils, and jewelry occupy the hands and reduce awkwardness. For more on using furniture creatively, see our guide on boudoir photography with a stool or coffee table.
Sheets & Blankets
Drape, wrap, or pull diagonally for movement, coverage, and framing.
Pillows
Prop under the lower back, behind the head, or between knees for support and better lines.
Chairs & Stools
Introduce height variation and seated posing opportunities.
Mirrors
Create reflective poses and double angles that add depth.
Flowers & Veils
Occupy hands naturally and add soft, romantic texture.
What Are the Common Boudoir Posing Mistakes to Avoid?
Even experienced photographers make posing mistakes. The most common: cutting off limbs at joints. Never crop at the ankle, wrist, or knee — always crop in the middle of a limb for a natural, intentional look. Forced smiles are another pitfall. Guide emotion, not just mouth shape. Ask your client to think of something that makes them feel powerful or adored, and capture the resulting expression.
Over-posing is surprisingly common. Too many micro-adjustments — "tilt your chin left, now right, now down, now lift your shoulder" — make the client stiff and self-conscious. Give one direction at a time and let them settle. Ignoring hands is a classic error. Limp or clenched hands ruin an otherwise perfect pose. Give them a job: hold the sheet, rest on the hip, touch the collarbone.
Finally, shooting from unflattering angles without purpose. Straight up the nose or directly below rarely works unless you are going for a specific artistic effect. Stay at or slightly above eye level for the most consistent results.
⚠️ Common Mistake
Cutting off limbs at joints (ankles, wrists, knees) creates a visual disconnect that reads as unintentional. Always crop through the middle of a limb — it looks deliberate and keeps the body line flowing naturally.
How Do You Build a Posing Flow That Feels Natural During a Session?
A great session feels like a dance, not a checklist. Start with simple, upright poses — standing against a wall, leaning on a piece of furniture — and gradually move to more vulnerable lying-down poses as the client's comfort grows. Use transitions: move from standing to leaning to sitting to lying in a logical sequence. Each position flows naturally into the next.
Give the client a "home base" pose — one they felt confident in during the warm-up — and return to it throughout the session. This anchors their confidence and gives you a reliable fallback if energy dips. Mix close-ups, mid-range shots, and full-body frames within each posing position. This variety is what makes a gallery feel complete.
Most importantly, read the client's energy. If a pose feels awkward, pivot immediately to something they own. A confident client in a simple pose always outperforms a stiff client in a technically perfect one.
What is the most flattering boudoir pose for beginners?
The side-lying pose is the most universally flattering starting point. One arm under the head, top leg bent forward, and hip dropped toward the bed creates a natural S-curve that elongates the body and feels comfortable for most clients.
How do I pose plus-size clients in boudoir photography?
Angle the body at 45 degrees to the camera, use wrapping poses where arms gently cross the body, and choose seated reclining poses that celebrate the full silhouette. Never shoot straight-on, and always frame positively around what the client loves.
What should I do if a client feels awkward during posing?
Return to a 'home base' pose they felt confident in earlier. Use breathwork to release tension, give one direction at a time, and pivot to a different position. A confident client in a simple pose always outperforms a stiff one in a complex pose.
How can I make hands look natural in boudoir poses?
Give hands a job: hold a sheet edge, rest on the hip, touch the collarbone, or run fingers through hair. Avoid clenched fists or limp dangling. Soft, slightly curved fingers with space between them read as relaxed and natural.
What is the best way to transition between poses during a session?
Move in a logical sequence: standing to leaning to sitting to lying down. Use transitional movements like adjusting a sheet or shifting weight naturally. Mix close-ups, mid-range, and full-body shots within each position for variety.

 Ad
Ad